July 31 – the final product (hardware & software)
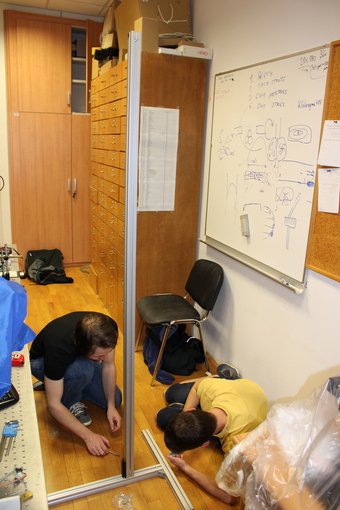
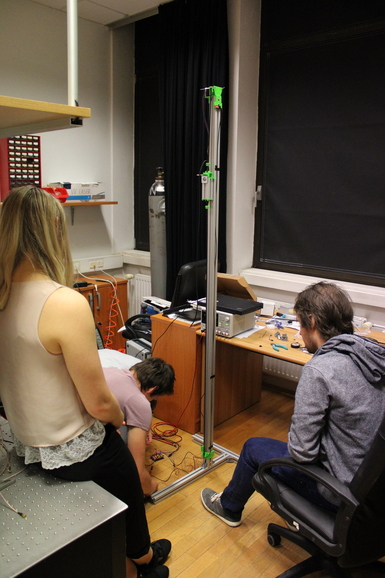
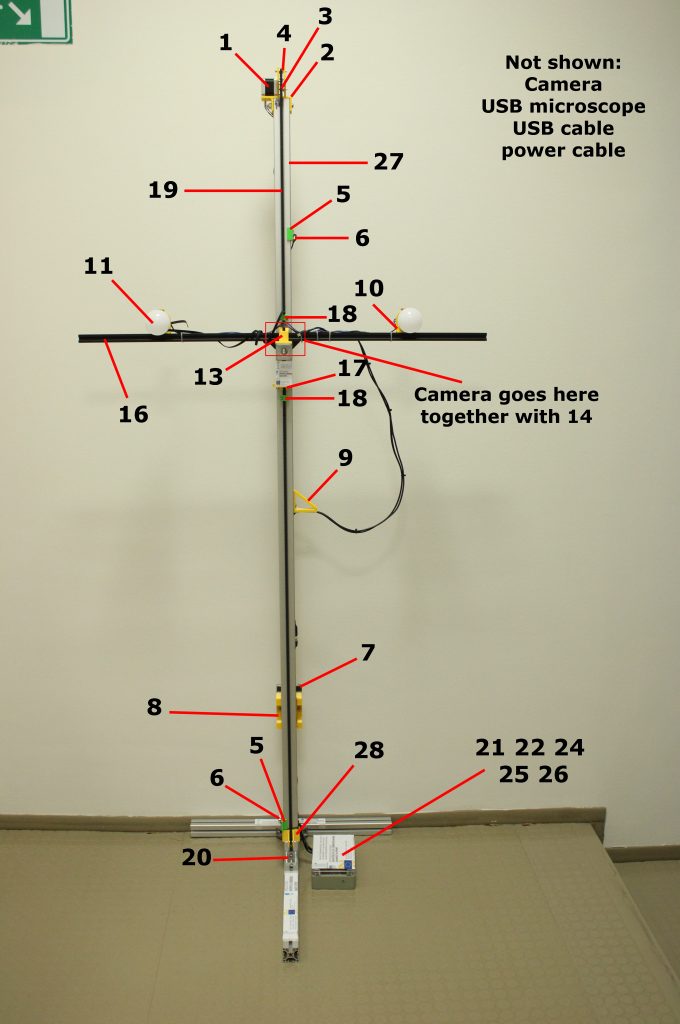
In the past days, our team has been subjecting the hardware and software that has been developed for our project to rigorous testing. Multiple bugs have been fixed and the dermoscope stand has been modified so that the 3D-printed components have been reinforced and all cables and plugs now join in a box at the stand’s base.
The videos below show the process of capturing an image from one perspective. The camera moves with a speed of about 10 cm/s, meaning the patient’s whole-body scan (from four angles – the front, the back and both sides) takes about 2 minutes.
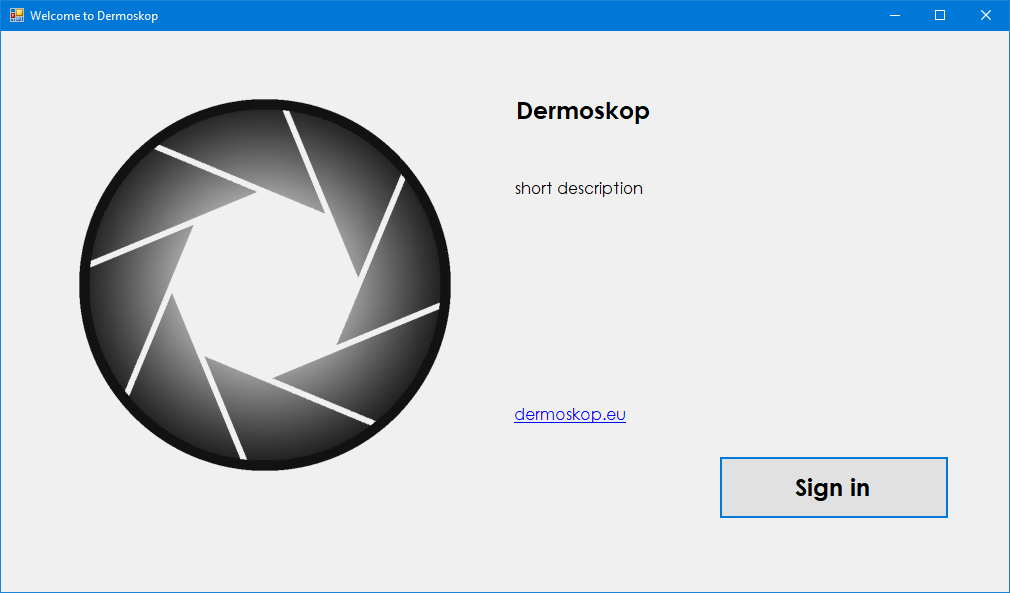
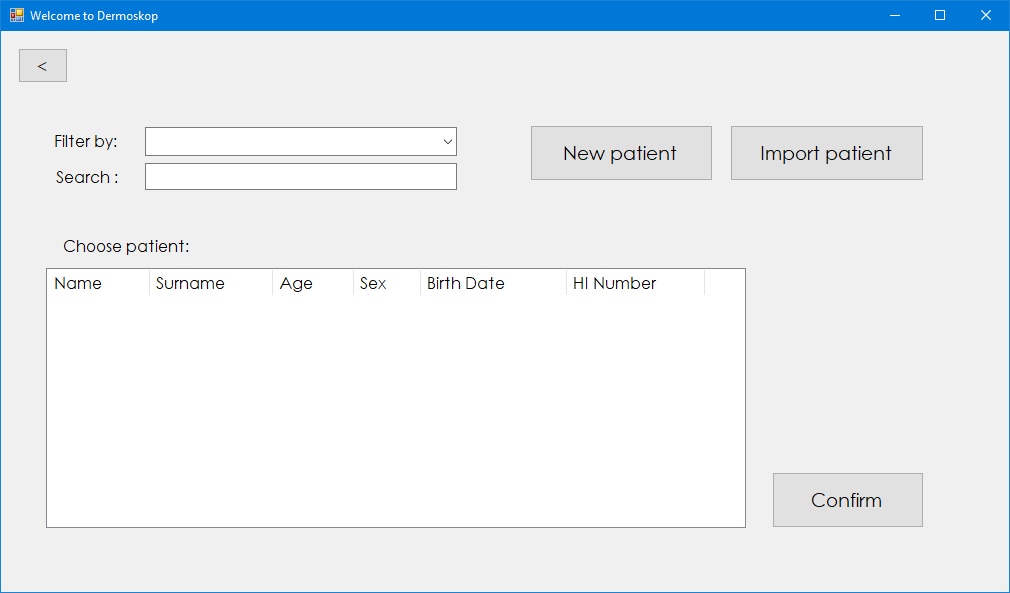
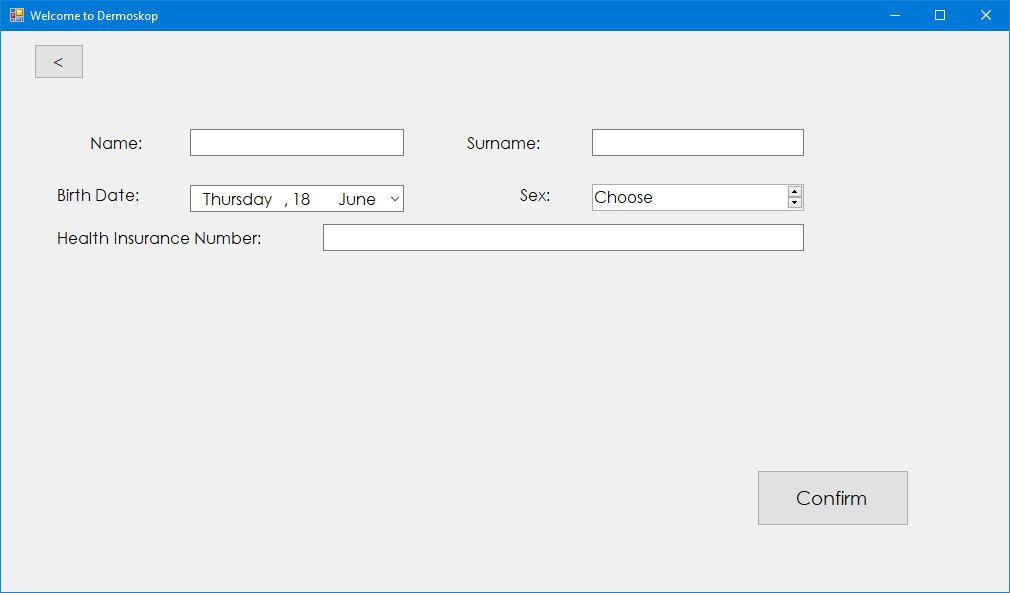
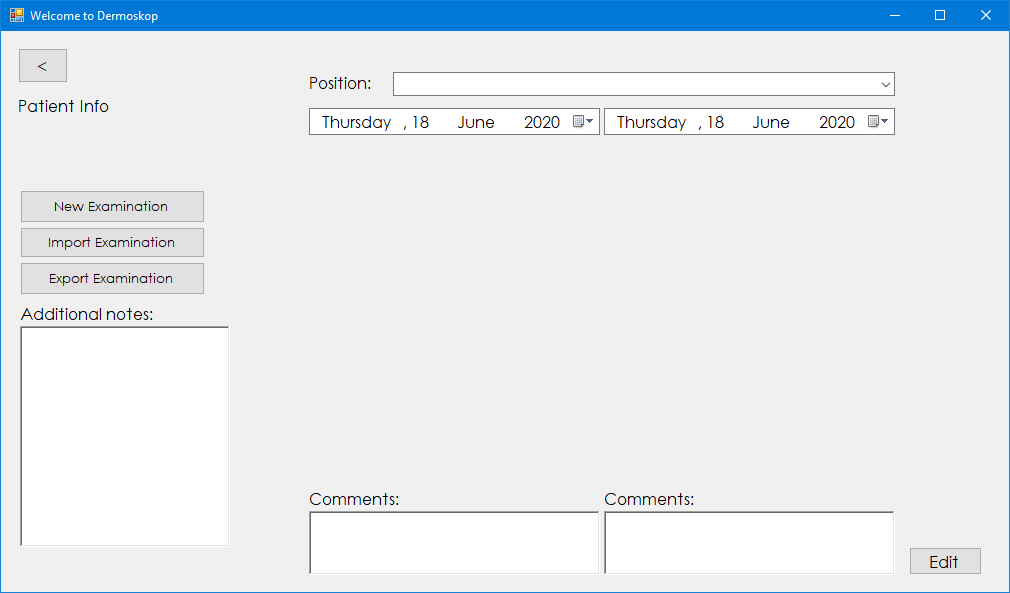
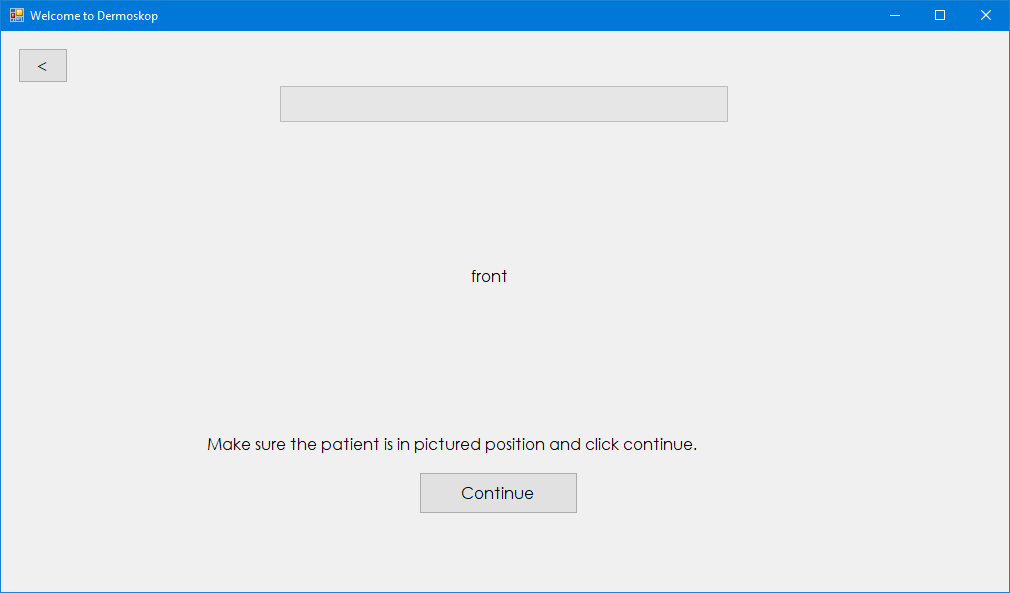
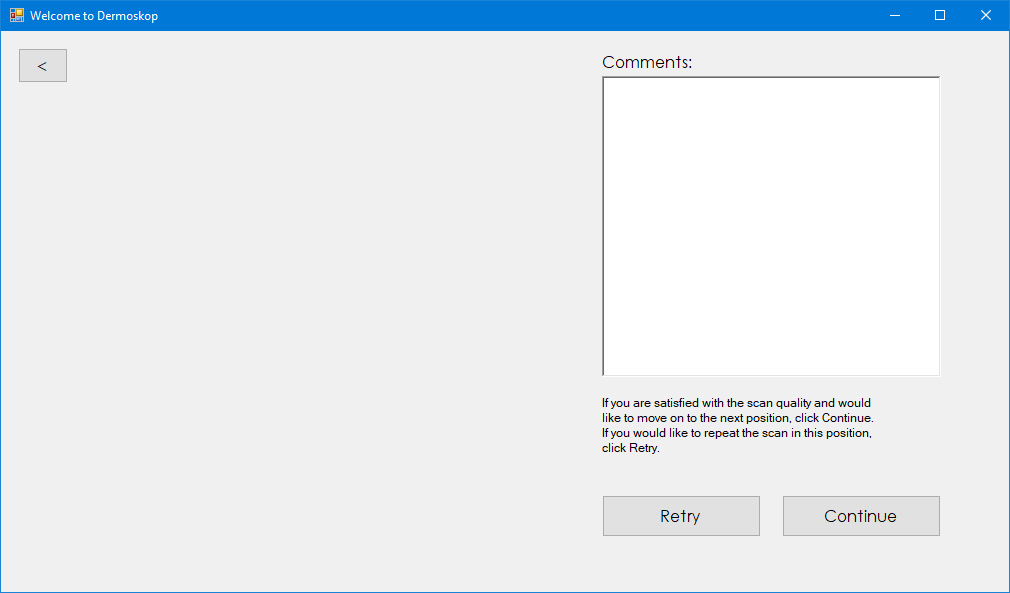
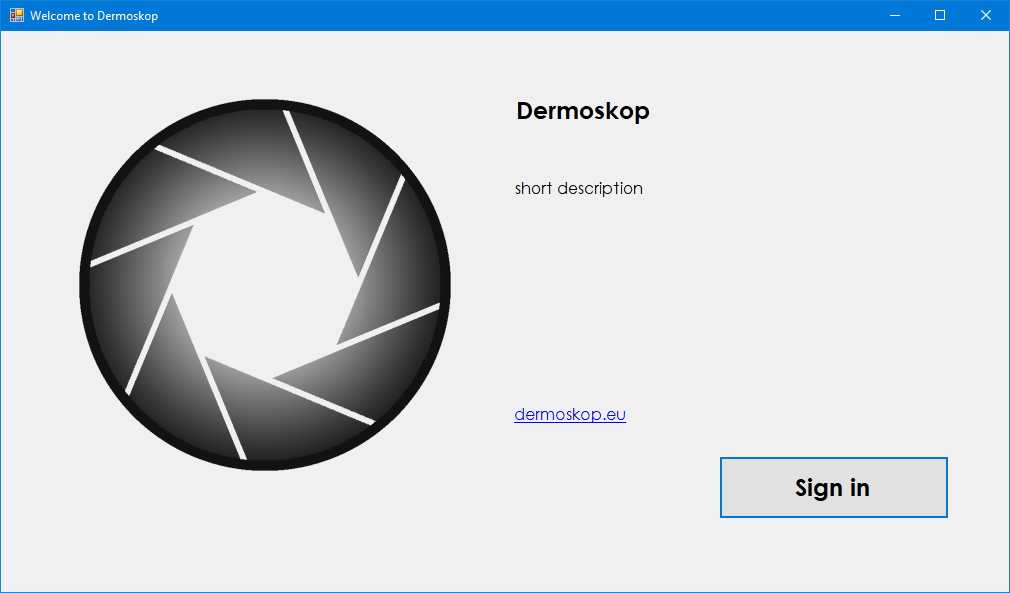
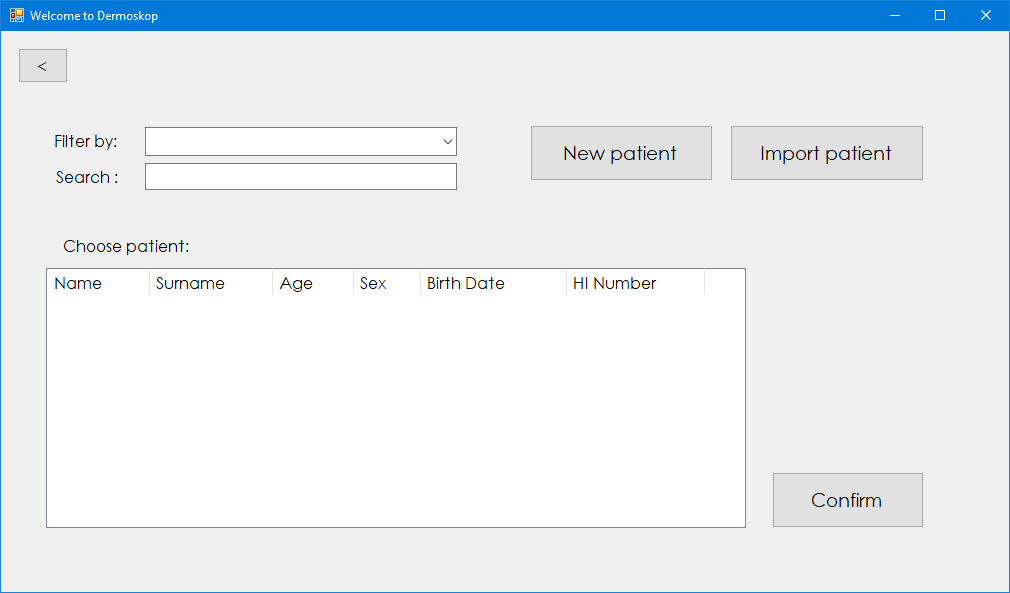
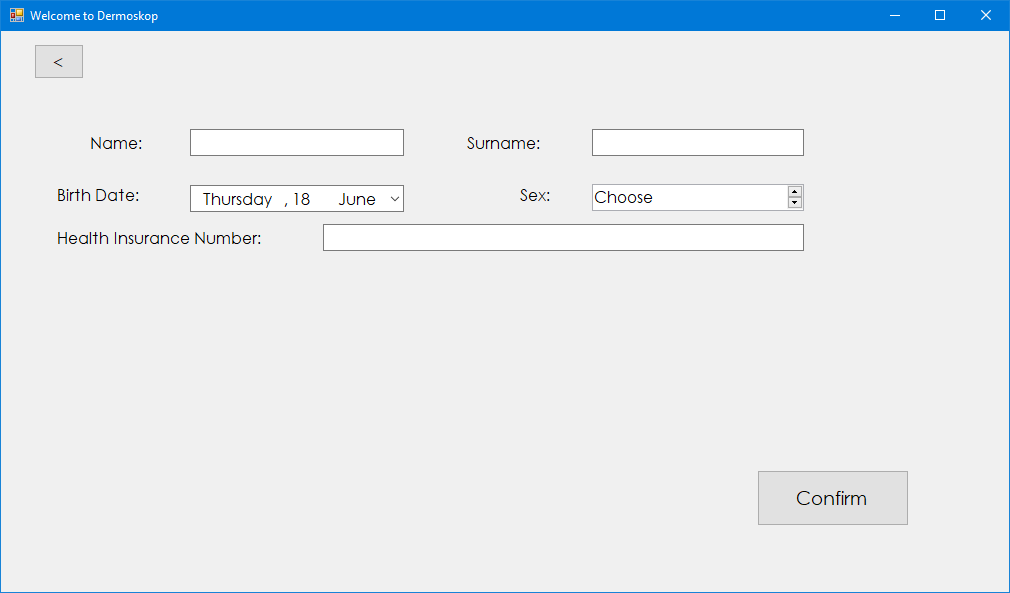
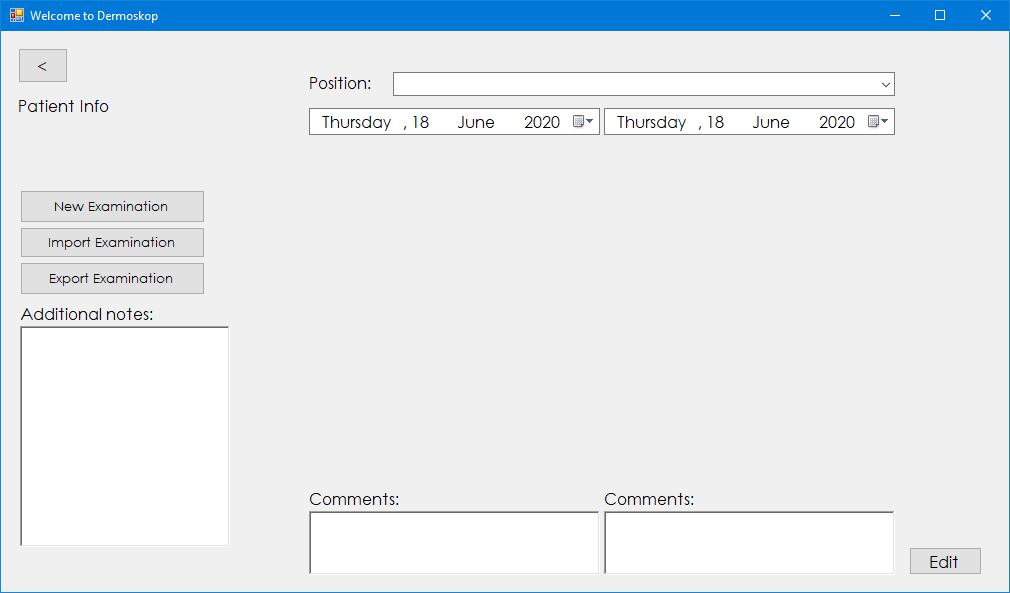
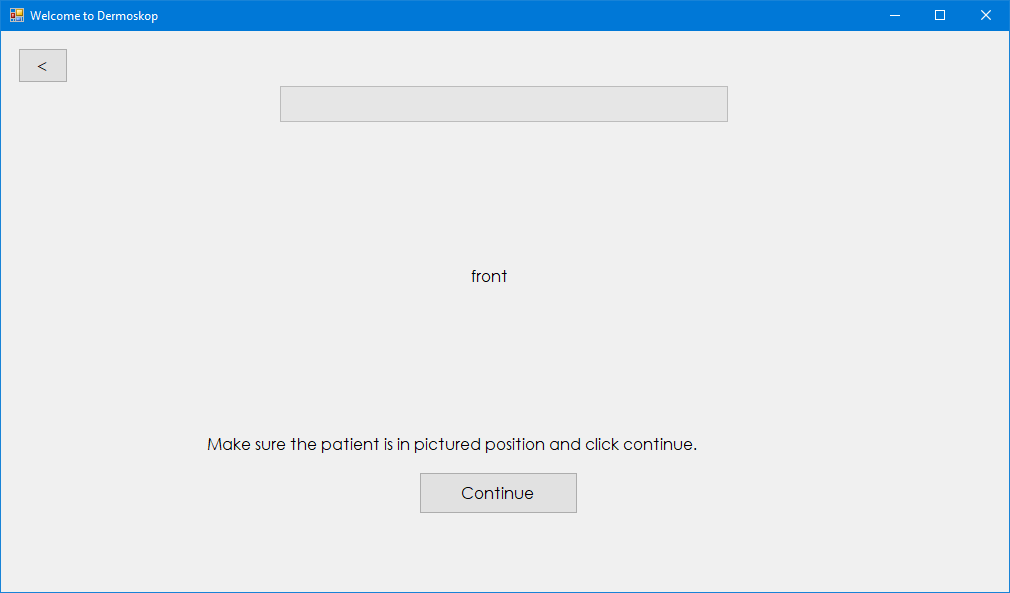
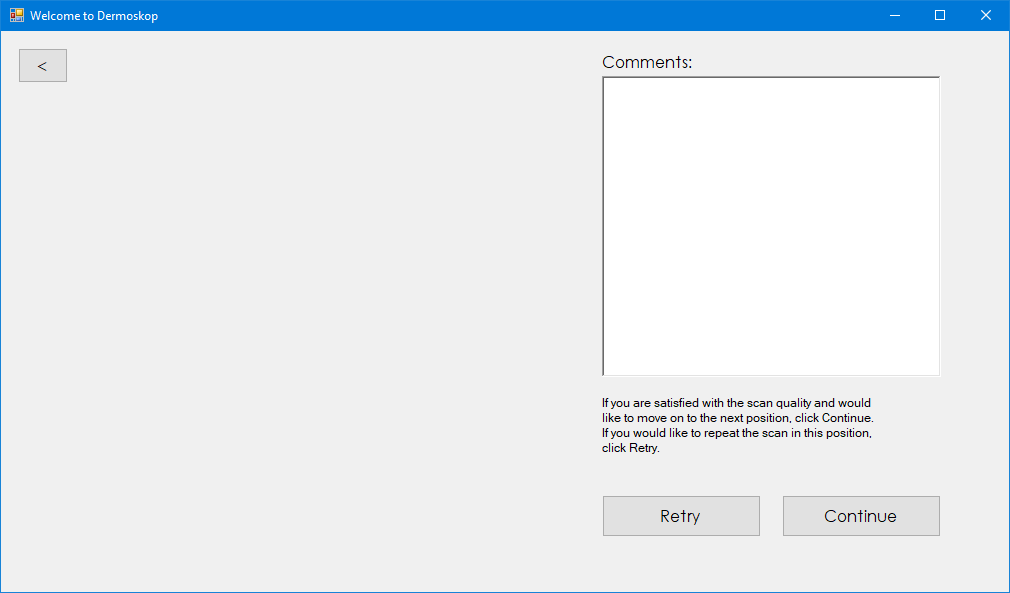
The following video shows the graphic user interface (GUI) which guides the user through capturing a whole-body scan.
Instructions and parts
The open-source computer program which was developed is freely available on the online platform GitLab (link, zip). It enables the user to capture an image of the whole body, after which they can annotate individual skin lesions and capture an additional, magnified image with a USB microscope. After capturing the images, the user can add comments and compare individual exams in order to determine which skin changes require further treatment or investigation.
The list of components we used is accessible here. We hope it serves as a guide for anyone wishing to construct their own dermoscope stand or simply as a starting point for future projects.
31. julij – končni izdelek (strojna in programska oprema)
V preteklih dneh smo pospešeno testiramo strojno in programsko opremo, ki je nastala v sklopu projekta. Pri tem smo odpravili nekaj hroščev, ki so se pojavljali ob zajemanju slike. Prav tako smo ojačali 3D natisnjene komponente stojala in ga prilagodili tako, da se kabli in priključki zbirajo v skupni škatli.
Spodnja videa prikazujeta postopek zajema dermoskopskega posnetka iz ene perspektive. Prvi prikazuje premikanje fotoaparata na stojalu, kar se dogaja približno s hitrostjo 10 cm/s. To pomeni, da slikanje celotnega telesa (iz štirih perspektiv – sprednje, zadnje in dveh stranskih) traja okoli 2 minuti.
Spodnji video prikazuje grafični uporabniški vmesnik (GUI), ki uporabnika vodi skozi zajem posnetka.
Navodila in deli
V nadaljevanju objavljamo seznam uporabljenih komponent in povezave za njihov nakup ter programsko rešitev, ki smo jo ravzili.
Program je odprtokodno objavljen na spletni platformi GitLab (link, zip). Uporabniku omogoča slikanje kože celotnega telesa. Na posnetku lahko nato označi posamezne kožne spremembe in jih slika z USB mikroskopom. Po zajemu slik lahko uporabnik doda komentarje ter primerja posamezne preiskave in s tem prepozna kožne spremembe, ki zahtevajo morebitno nadaljnjo obravnavo.
Seznam komponent je na voljo tej povezavi. Seznam naj bo v pomoč vsem, ki bi želeli sestaviti stojalo za lasten dermoskop, lahko pa služi tudi kot izhodišče za nadaljnji razvoj.
July 1 – building the construction (hardware)
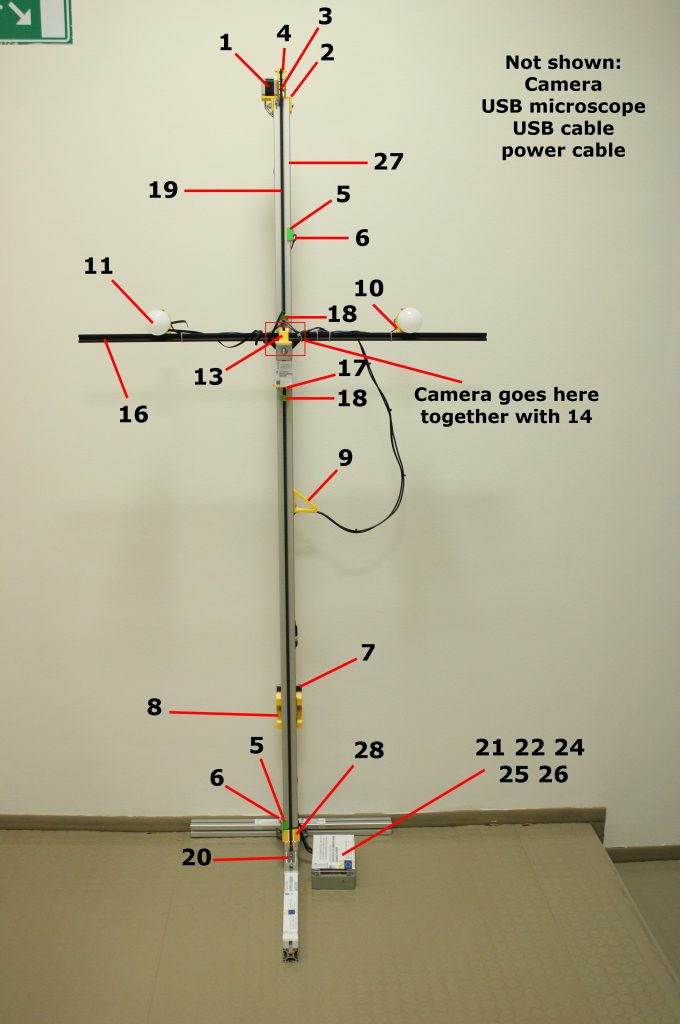
The creation of the first dermoscope is coming to a conclusion. Concerning the hardware of the apparatus the construction is nearly finished. The lifting mechanism is also operational. The missing elements are: setting the camera and the lighting on the lifting carrier, and also connecting the apparatus with the software.
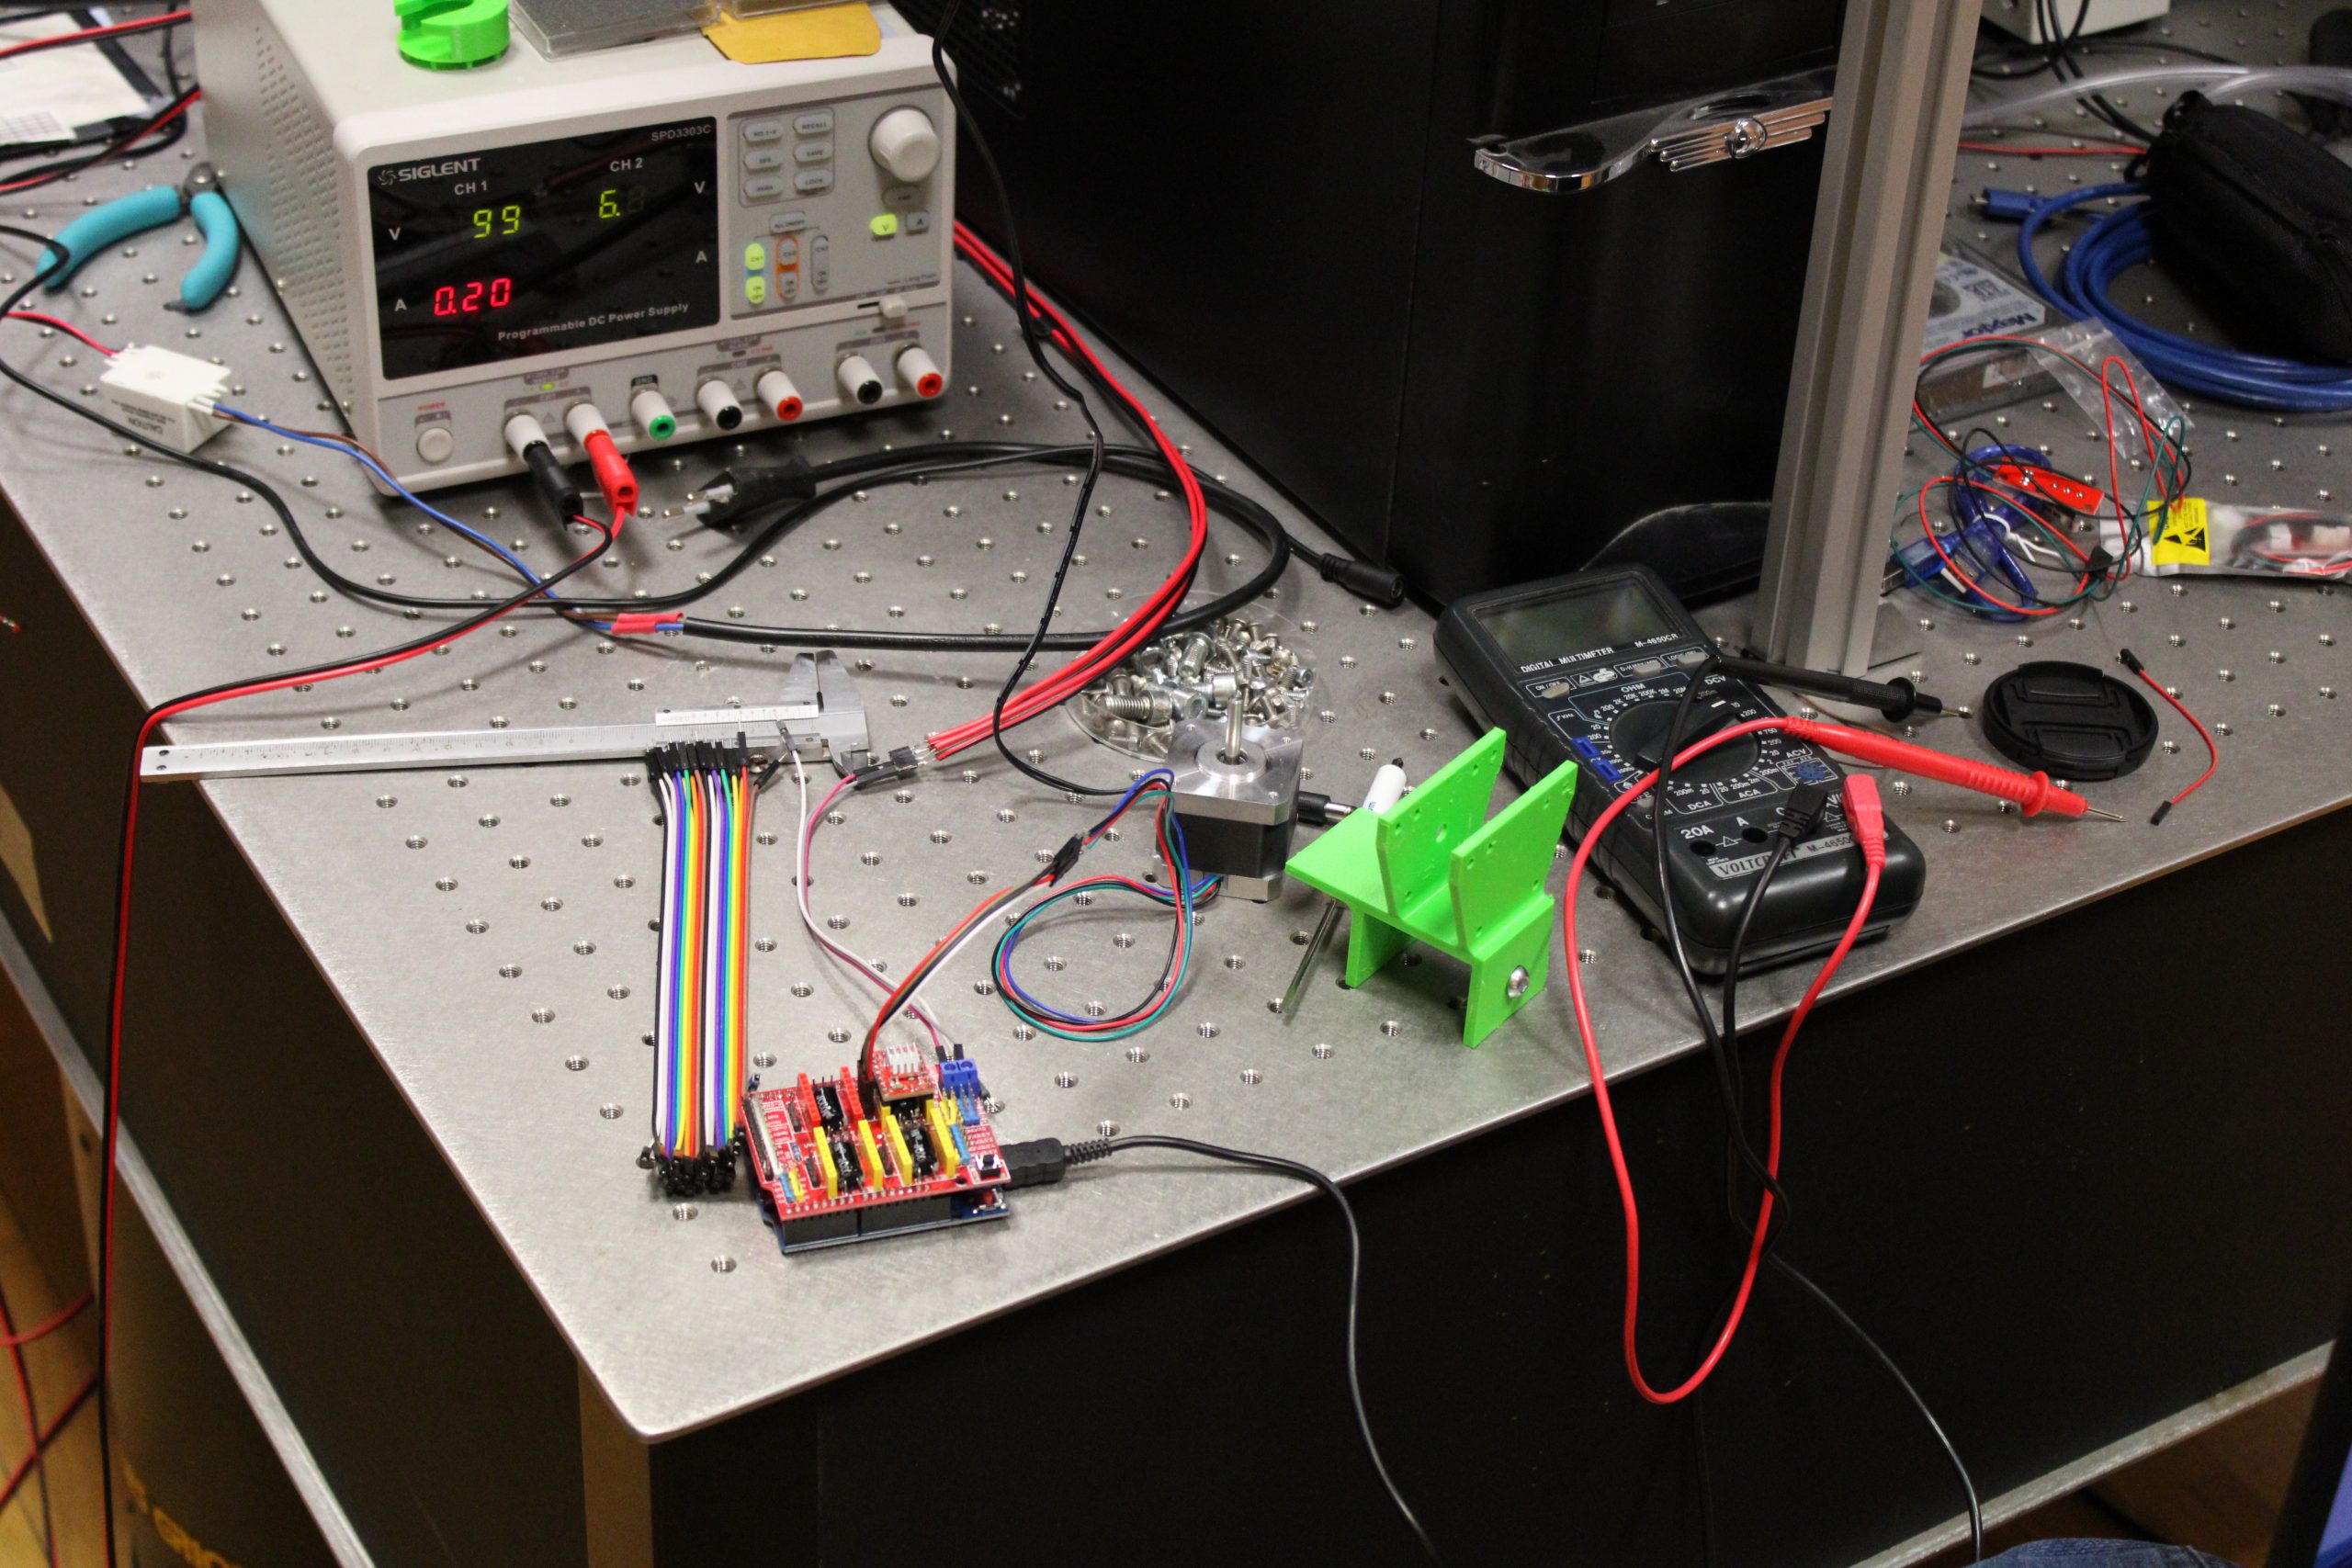
The skeleton is composed of ALU profiles. The stepper motor has been programmed with Arduino. We also had to design a couple of binding elements which we 3D printed. The motor is located on the top of the construction and pulls the strap which holds the carrier for the camera and the lighting. The are also two switches that control and mark the lifting space of the camera.
1. julij – izdelava konstrukcije (strojna oprema)
Izdelava prvega dermoskopa se bliža h koncu. Glede strojne opreme aparata je konstrukcija že izdelana. Prav tako je dokončan sistem za dviganje in spuščanje fotoaparata. Potrebno je še primerno nastaviti fotoaparat in osvetlitev ter aparat sklopiti s programsko opremo.
Konstrukcijo dermoskopa smo sestavili iz ALU profilov. Z Arduinom smo programirali krmiljenje koračnega motorja. Zasnovali smo še par veznih elementov in jih izdelali s 3D printerjem. Na konstrukcijo smo nato pričvrstili jermen, ki bo nosil nosilec za fotoaparat in osvetlitev. Na vrhu stojala koračni motor dviga in spušča sklenjen jermen. Na stojalu sta tudi dva stikala, ki določata dvižno območje kamere.
June 21 – apparatus design (hardware)
We began designing our dermoscope (the apparatus for capturing skin lesions) by reviewing similar commercial solutions on the market and compiling a list of requirements for the hardware. Thus far, we have decided on the dimensions of the equipment, the process of image capturing through lifting the camera, and the best lighting method and placement of the apparatus for optimal image resolution.
In designing our prototype, we are closely collaborating with the software division of our team to ensure that the hardware works well with the software. Shown below are a few of the concepts we considered. As our goal was to develop an efficient and low budget apparatus, we had to balance cost and functionality.
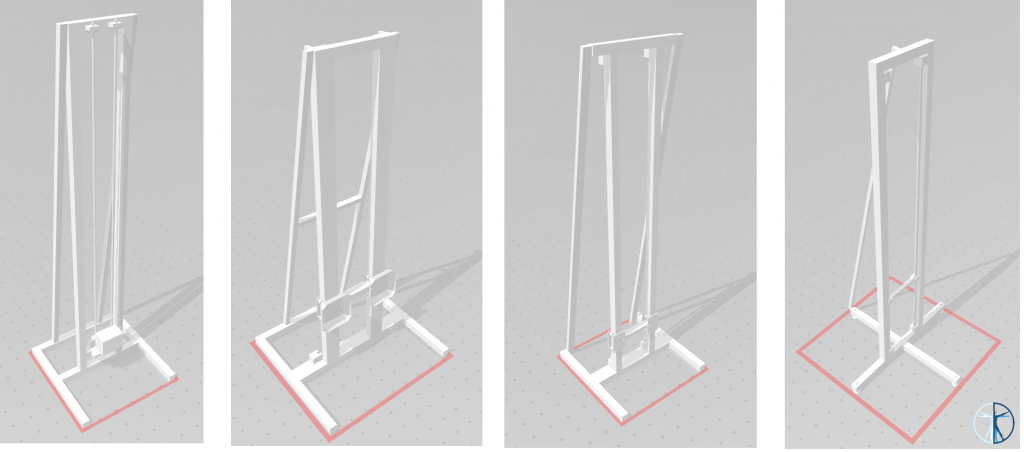
We decided on a simple, elegant yet stable construction. An image of the whole body will be taken by capturing multiple images with the camera on different heights. The height of the camera will be controlled with a stepper motor.
In order to achieve uniform lighting of the entire body and to reduce the amount of reflection from the patient’s skin, we will use two LED lights, which will be mounted on the apparatus itself.
We have already acquired the necessary components for the construction of this simple concept. Our main goal when designing the equipment is to ensure a robust and long-lasting system for lifting the camera that will guarantee consistent and even image capturing for constructive analysis.
21. junij – zasnova aparata (strojna oprema)
Zasnova dermoskopa (aparata za slikanje znamenj) se je začela z osnovnim pregledom zahtev, ki jih bo moral aparat izpolnjevati. Za potrebe totalne dermoskopije telesa smo tako ocenili dimenzije konstrukcije, postopek zajemanja slik preko dvigovanja kamere ter primerno osvetlitev in postavitev za optimalno resolucijo slik.

Zasnovali in predelali smo marsikatero idejo in koncept. Ker pa želimo zasnovati učinkovit in čim bolj nizko cenovni aparat smo morali še bolj optimizirati naše ideje.
Odločili smo se za zelo preprosto, elegantno a stabilno konstrukcijo. Sliko celotnega telesa bomo dobili preko večih posnetkov, ki jih bo posnel fotoaparat na različnih višinah. Za dvigovanje bomo krmilili koračni motor. Za primerno osvetljavo pa bomo uporabili dve LED svetili za enakomerno svetlobo brez odseva od pacienta.
Potrebne komponente za sestavo tega osnovnega koncepta smo že priskrbeli in izdelava je v delu. Glavni trenutni cilj pri izdelavi je zagotoviti robusten in obstojen sistem dvigovanja kamere, ki bo poskrbel za enakomerno zajemanje slik za učinkovito analizo.
June 17 – progress update (software)
The software for image analysis and image comparison is being developed rapidly.
A local database has been set up where patient, examination, and image data will be stored, which will allow users to access information quickly and reliably.
The basic user interface has been designed and a simple prototype was created. At its current stage, the user interface enables simple navigation through the application. It also simulates a simple image capturing process.
The application can already remotely capture images and stitch them together, there are however still some bugs that need to be addressed.
In the coming weeks, our tasks are: enabling support for basic user handling (signing in with a username and password), upgrading the database, and modifying the user interface to make it more user friendly.
17. junij – dosedanje delo (programska oprema)
Programska oprema za analizo in primerjavo slik se hitro razvija in nadgrajuje.
Vzpostavljena je bila lokalna baza podatkov, kjer bodo shranjeni vsi podatki o pacientih, preiskavah in zajetih slikah, kar uporabnikom omogoča hiter dostop do podatkov.
Uporabniški vmesnik je zasnovan in osnovni prototip je izdelan. Zaenkrat vmestnik omogoča osnovno navigiranje po aplikaciji ter simuliran prikaz postopka zajemanja slik.
Uspešno deluje tudi zajem slik s kamero preko računalnika. Zajete slike posameznega dela telesa že združujemo v eno sliko, a je potrebno odpraviti še nekaj hroščev.
Naloge za prihajajoče tedne so predvsem: dodatek podpore za shranjevanje uporabnikov, nadgradnja podatkovne baze in prilagoditev uporabniškega vmesnika tako, da bo ta uporabniku bolj prijazen.
