Home » Building instructions

Building instructions

  1. Use 3D printer to print all the plastic parts. PLA and 0.4 mm nozzle are good enough:
    • Motor and pulley support (part #2)
    • Belt Clamp Front, Belt Clamp Back (print 2x sets, part #18)
    • Belt Guide Bottom (part #28)
    • Belt Loop Top (part #13)
    • Belt Loop Bottom (part #17)
    • Cable Support (part #9)
    • Camera Screw Ring (not shown)
    • Light Holder (print 2x, part #10)
    • Switch Support (part #5)
    • Weight Guide (part #8)
    • (ZIP archive of all parts in STL format)
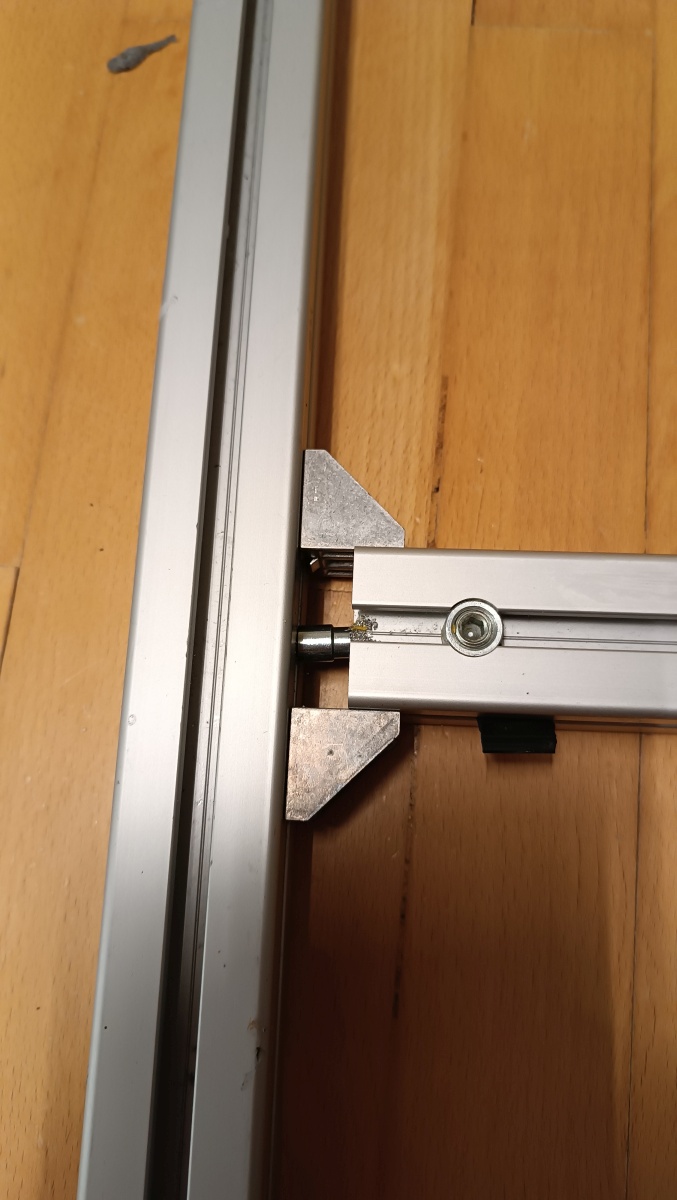
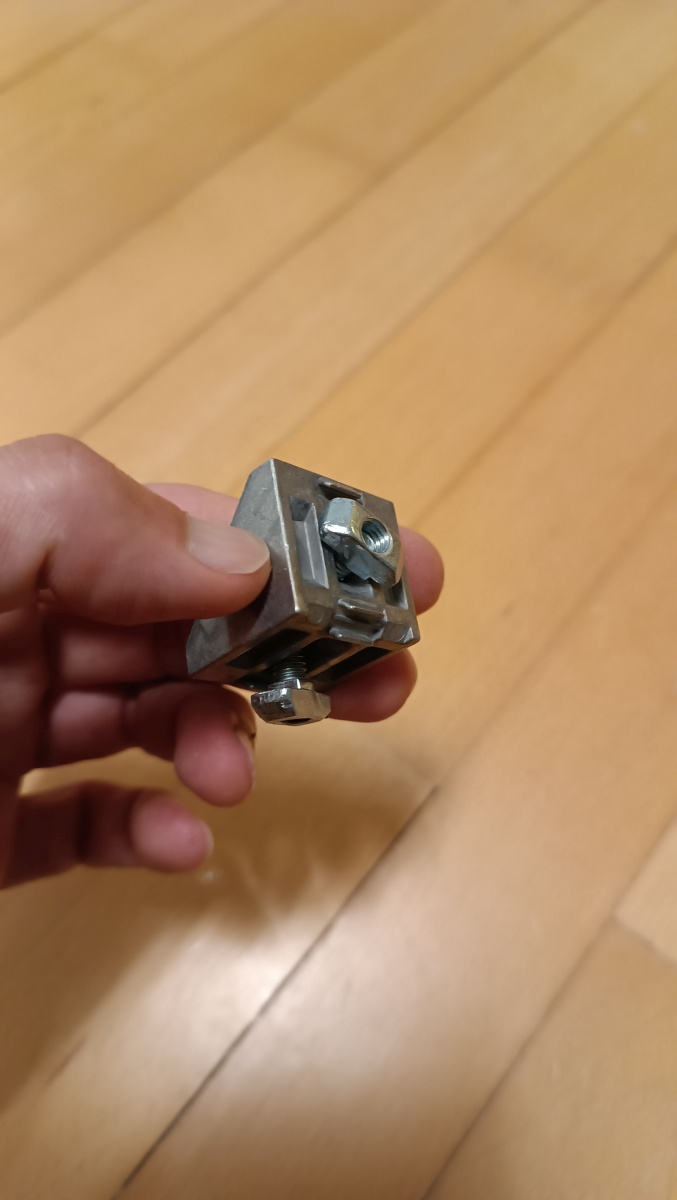
  2. Cut a 40×40 mm (1.5×1.5 inch) aluminum strut profile into 4 pieces: 43 cm (part A) , 60 cm (part B), 174 cm (part C) and 10 cm (part D). Assemble parts A and B into a T-shape using two corner brackets (part #26) and corresponding T-Slot Sliding Nuts and bolts.
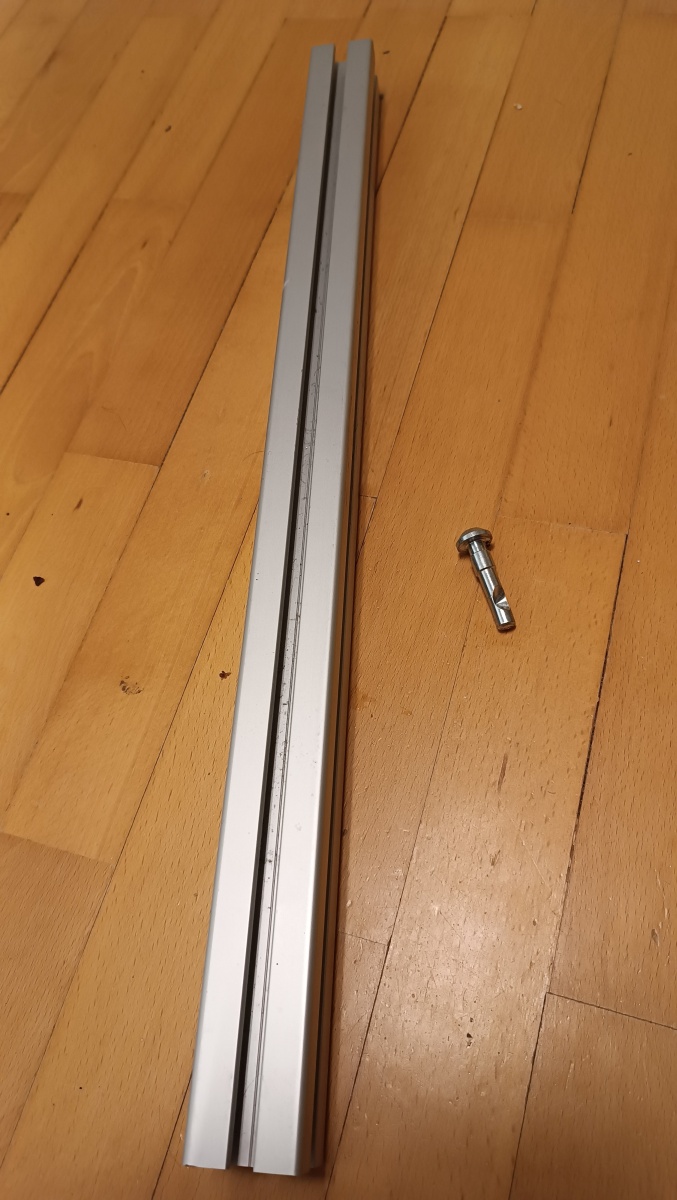
  3. Drill a 8mm diameter hole in the part C 60 mm from the end. This is the hole for the belt. (Don’t mind the yellow and green parts that are visible in the image – they will be mounted later on.)
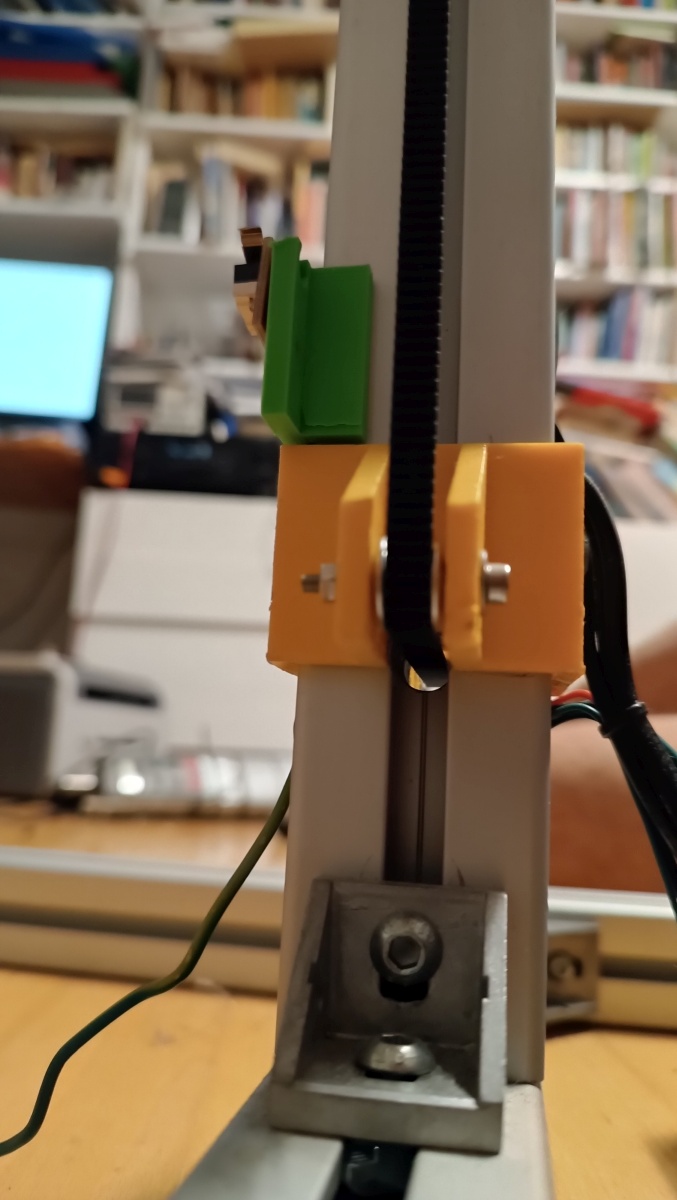
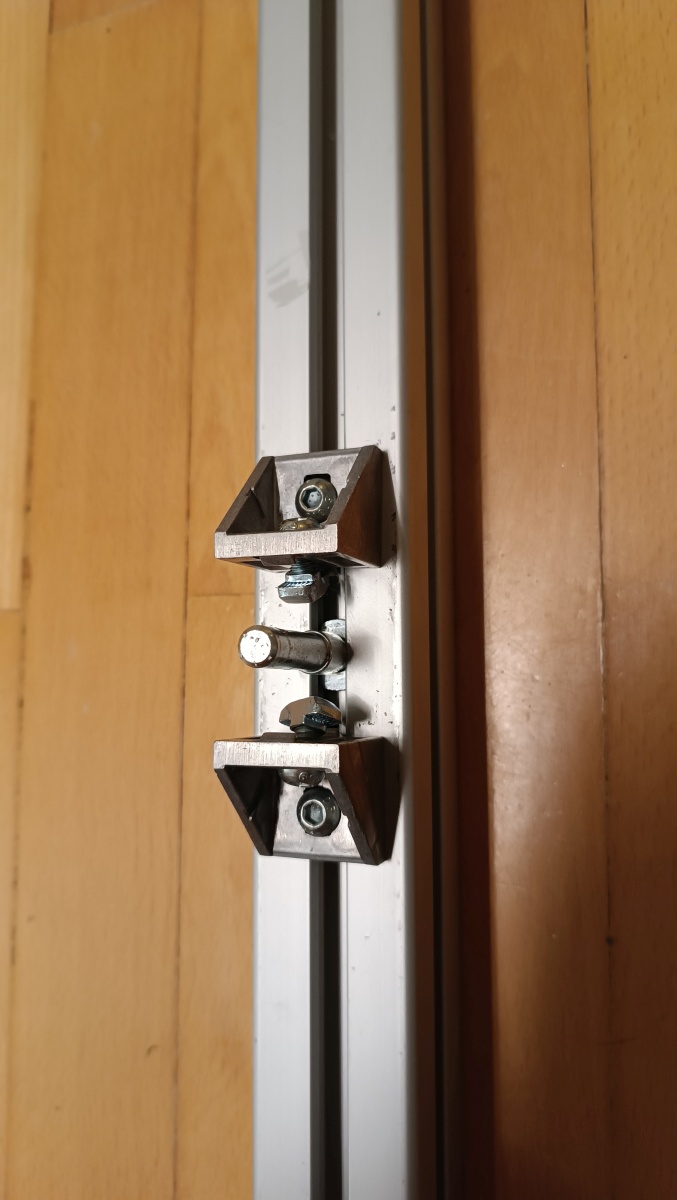
  4. Connect the part C vertically to the part B using two corner brackets (part #26).
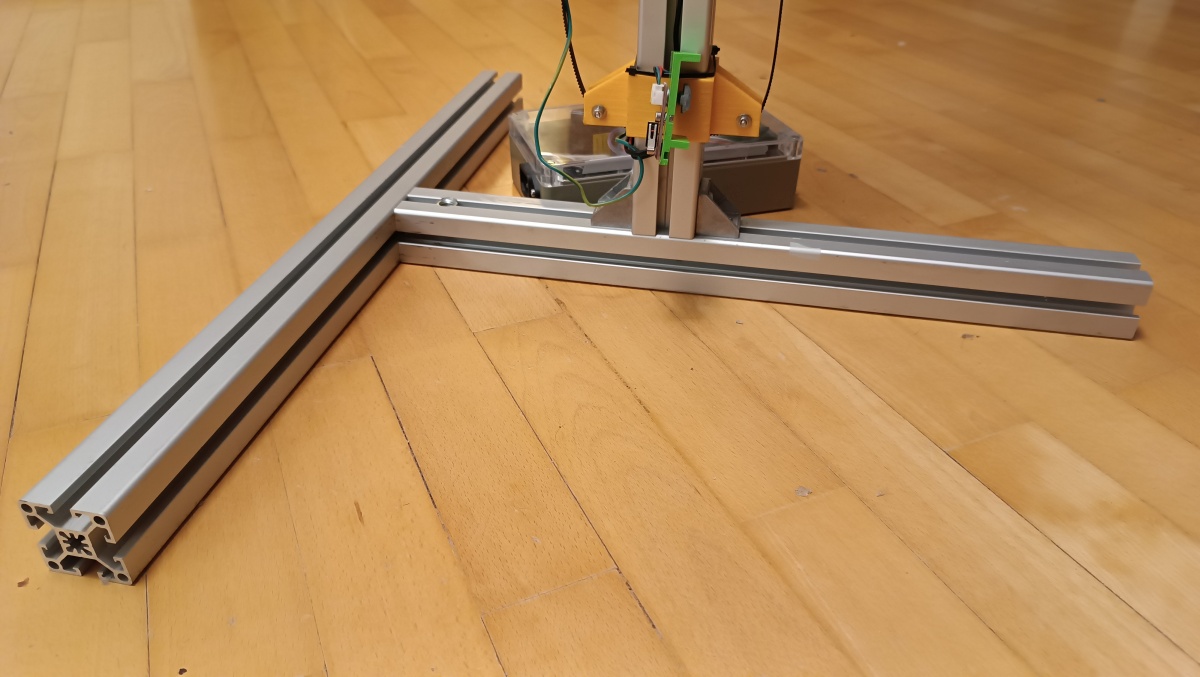
    (as already said, ignore the parts that are mounted on the vertical profile in the image)
  5. Mount the Belt Guide Bottom (part #28, yellow thing in the image) on the bottom part of the vertical aluminum profile, just above the corner brackets. Use two T-Slot sliding nuts and bolts to mount it from both sides (front, as shown in the image below, and the one on the opposite side).
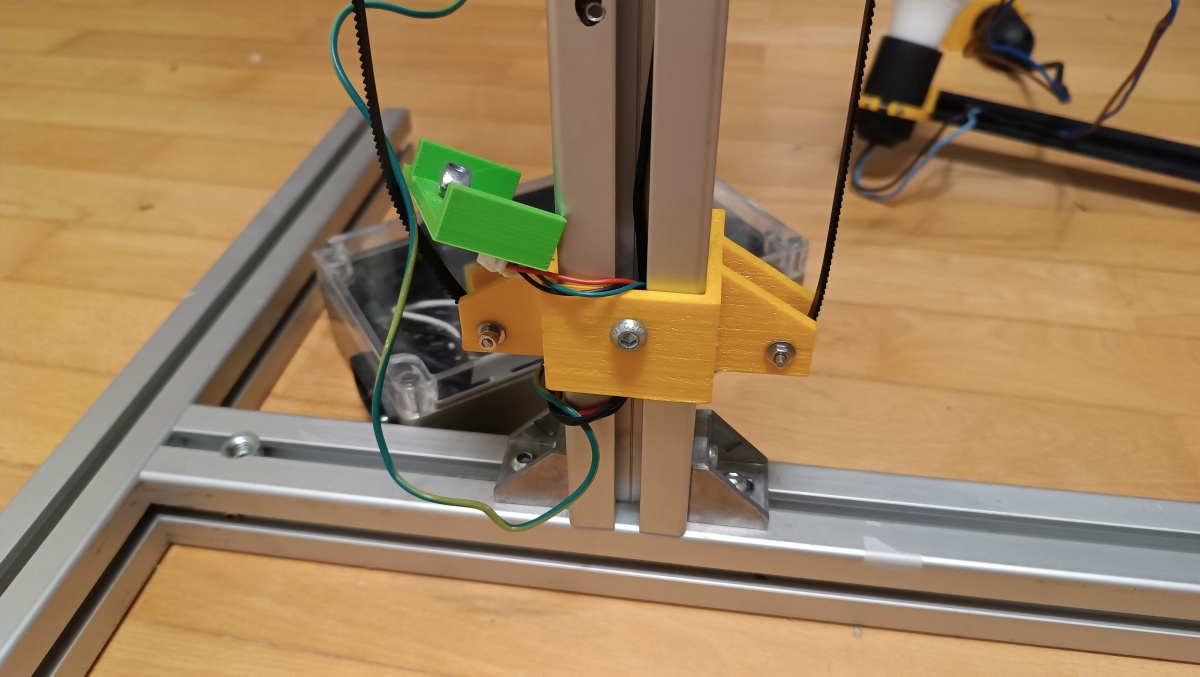
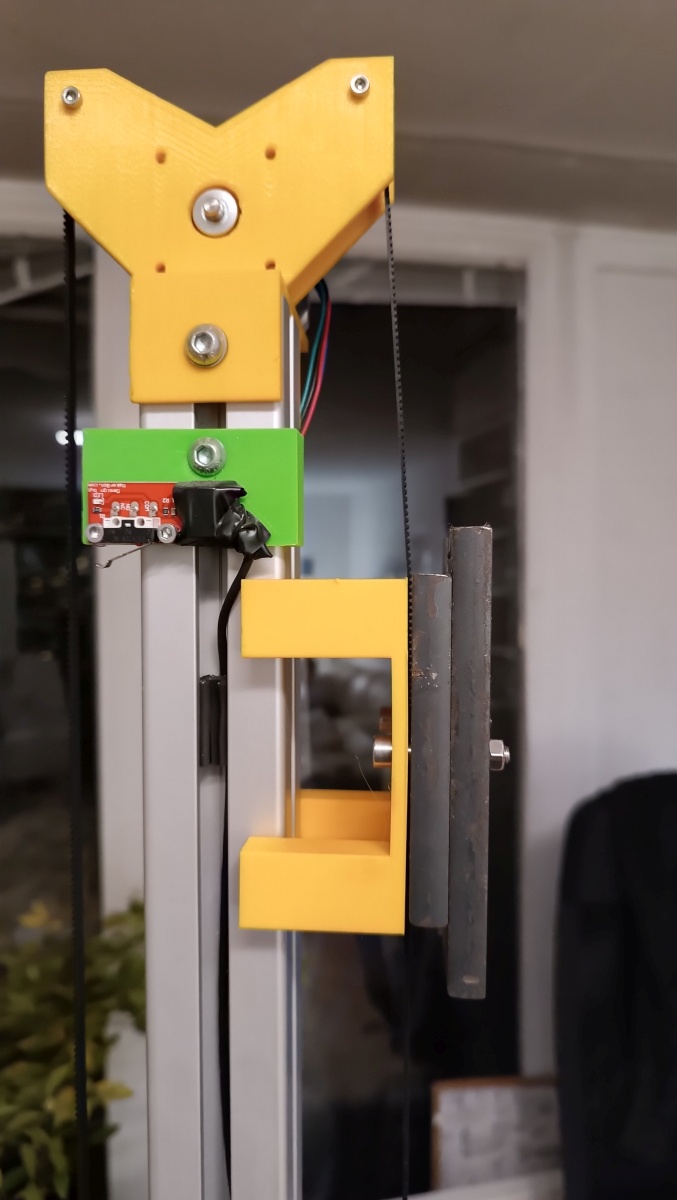
  6. Mount the limiting switch on the Switch support (part #5, green thing in the image) directly above the Belt guide bottom (part #28).
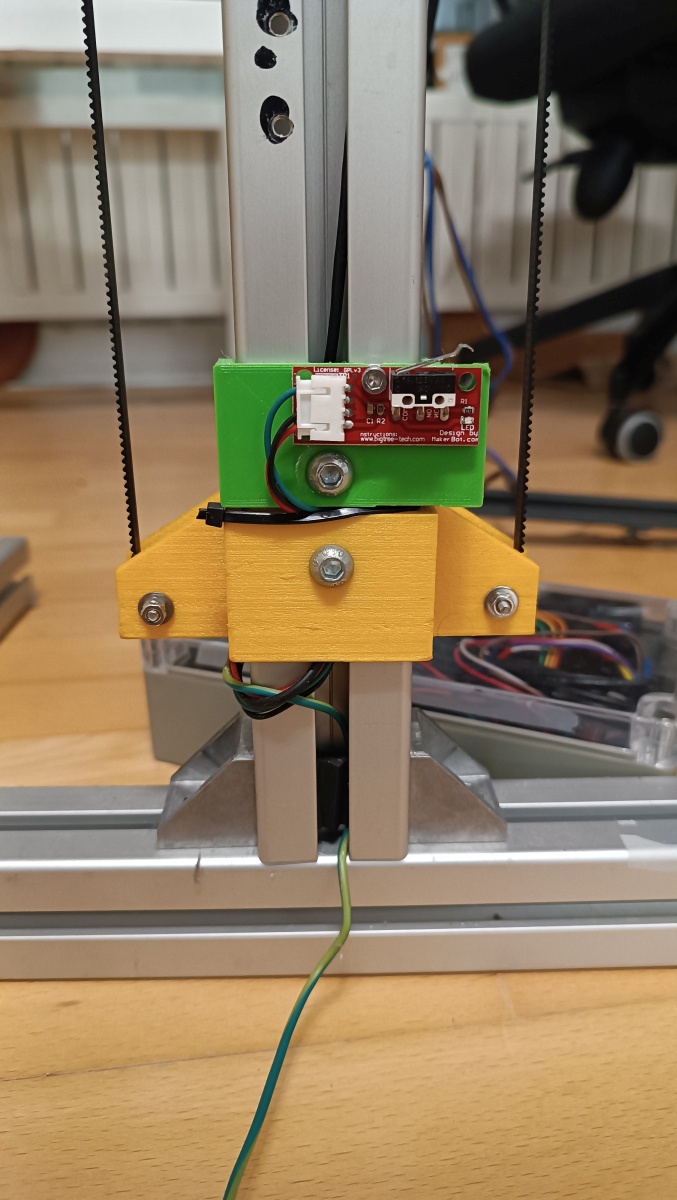
  7. Mount the cable support (part #9) at the side of the vertical bar.
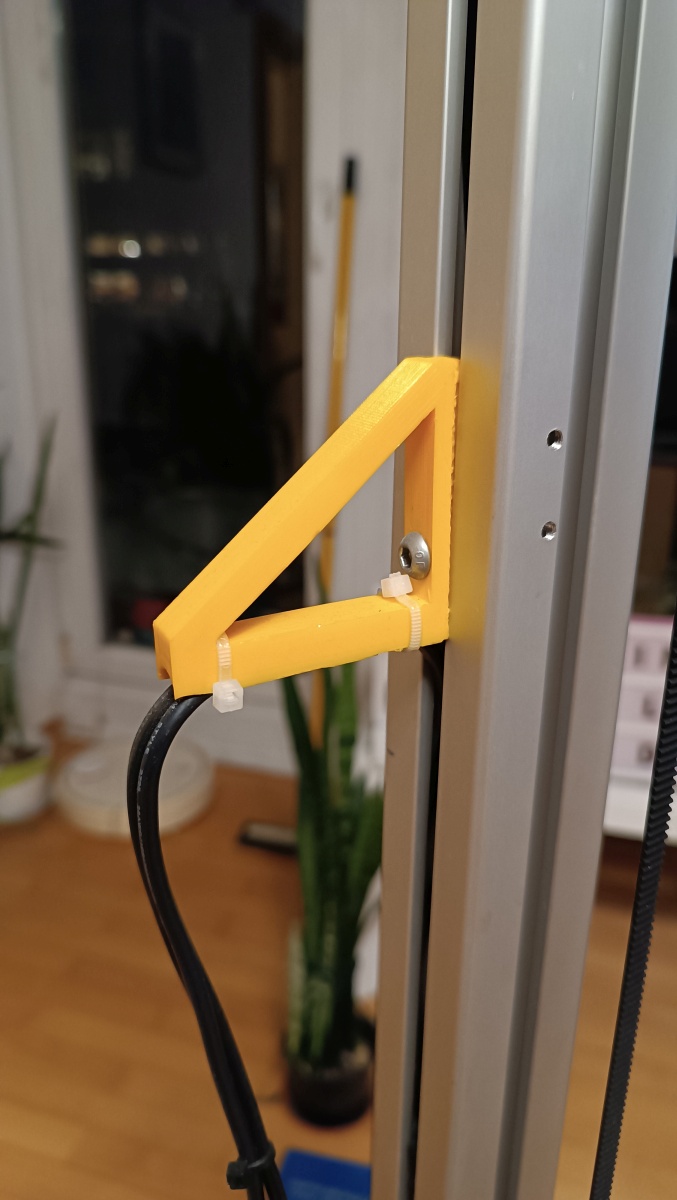
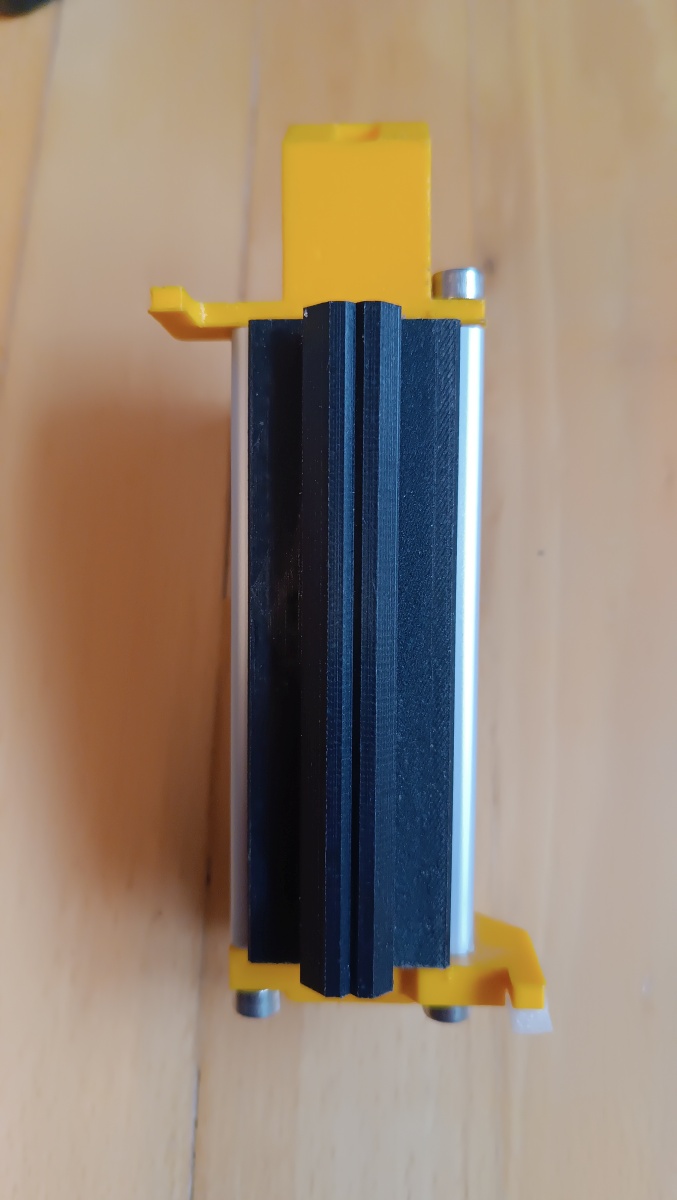
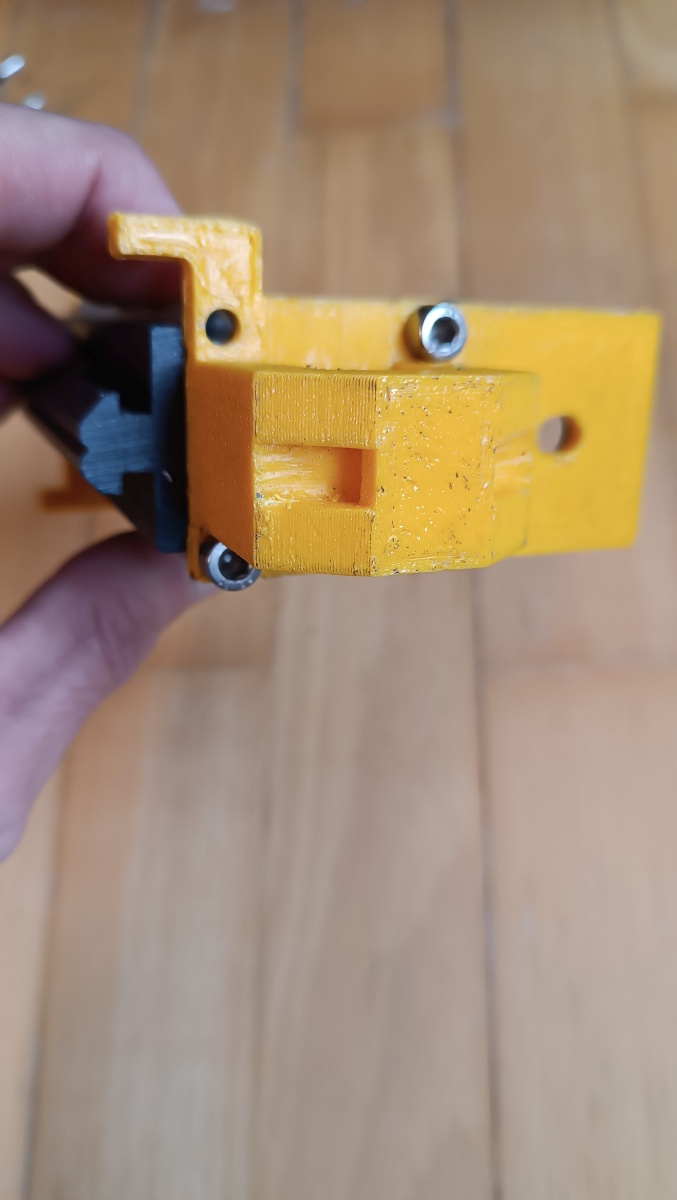
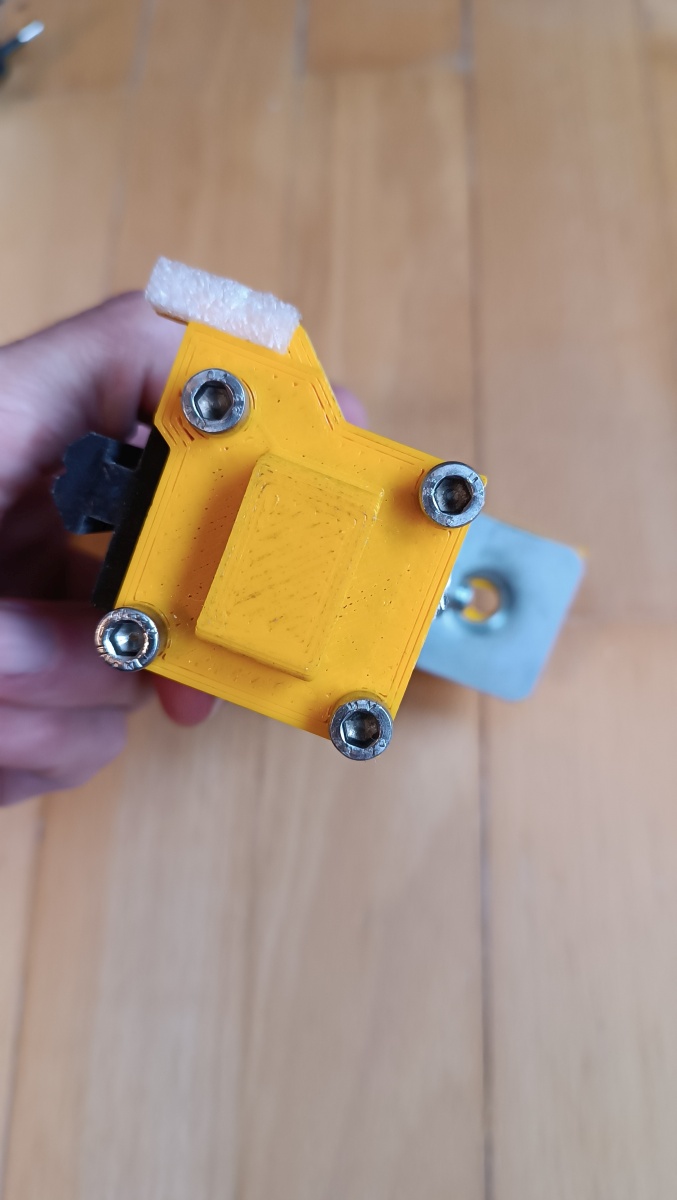
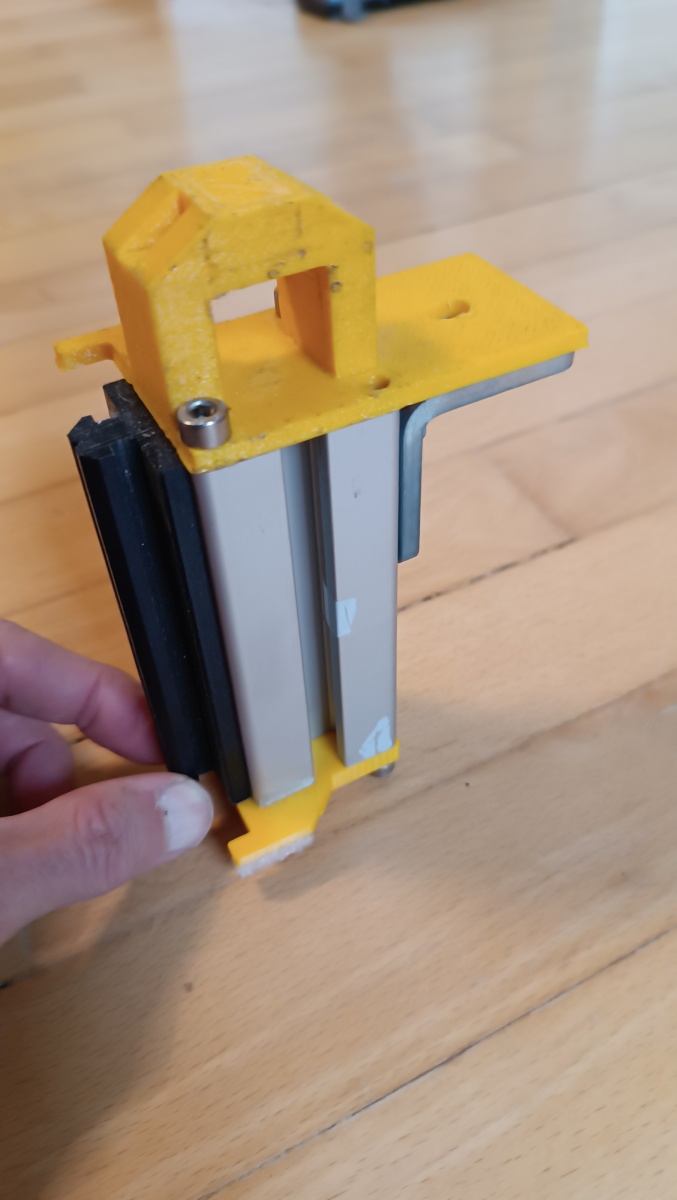
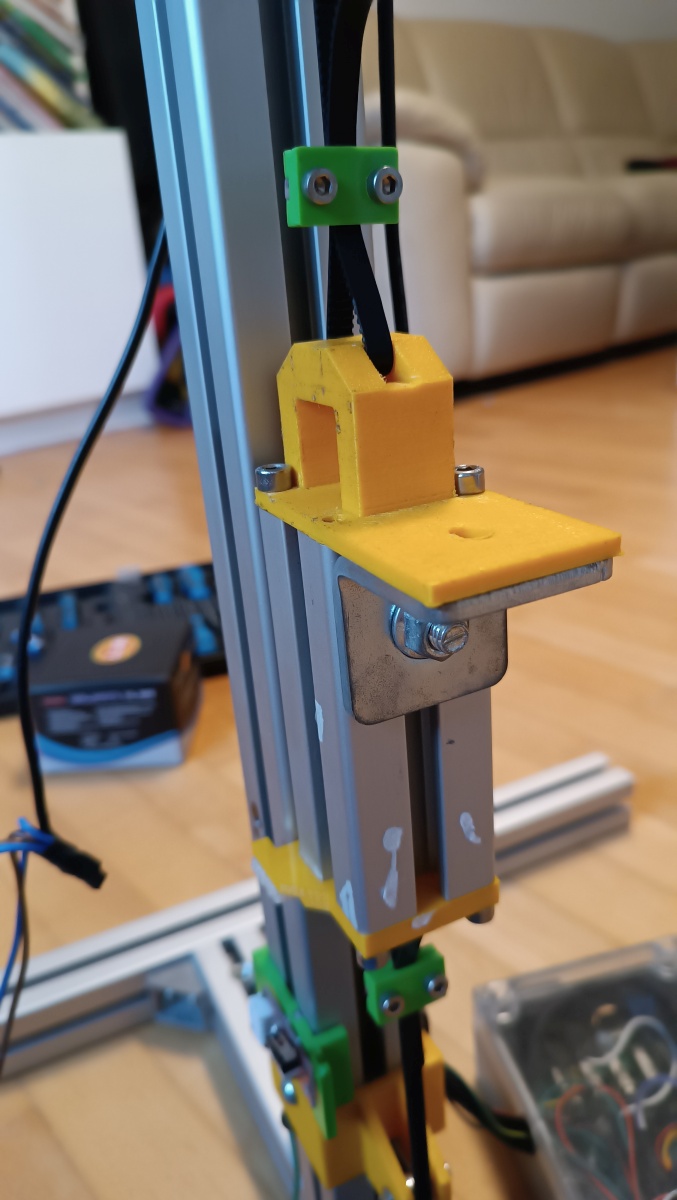
  8. Assemble the slider that will carry camera and lights. Take part D (10 cm long 40×40 mm aluminum extrusion) and insert a 10 cm long sliding element 10/10N into the profile. Screw the 3D printed part Belt Loop top (part #13) on one side and Belt Loop bottom (part #17) to the other side. Add a L-shaped bracket for additional strength.
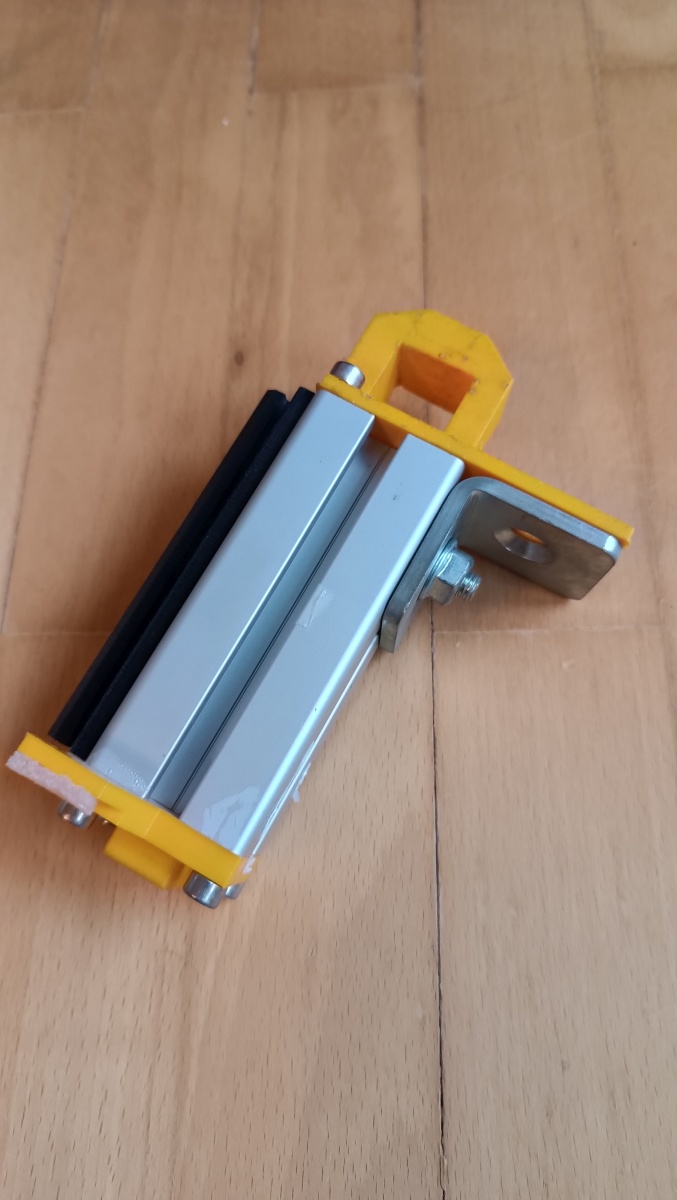
  9. Insert the assembled slider into the slot of part C.
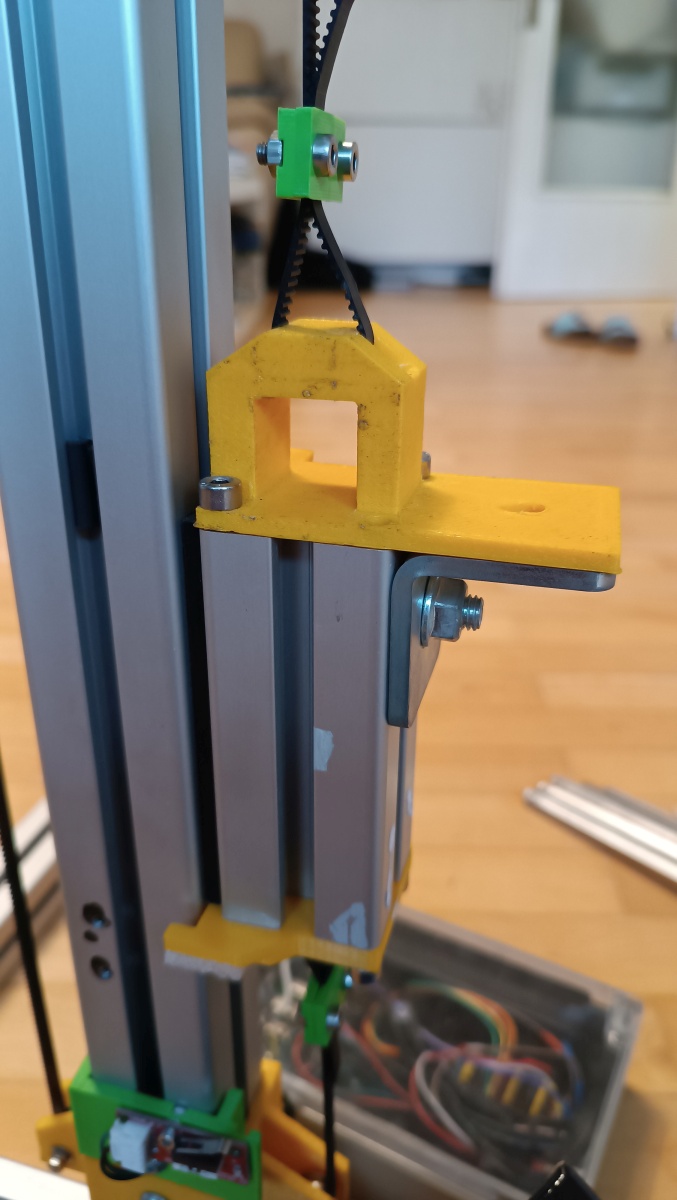
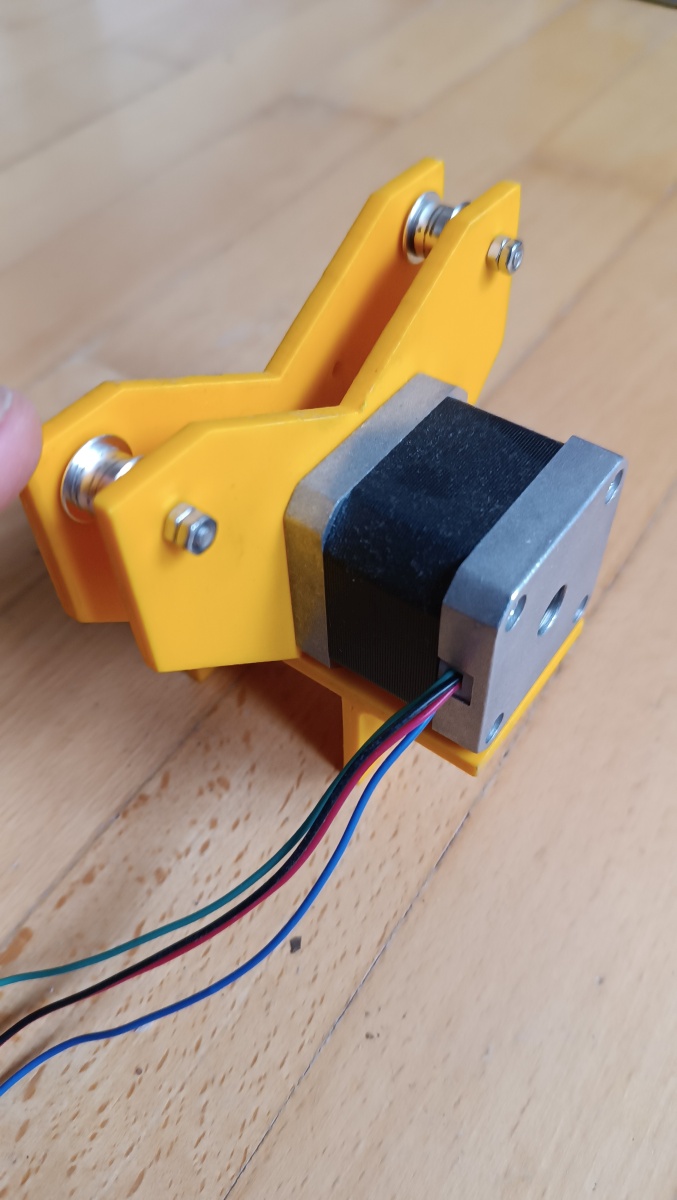
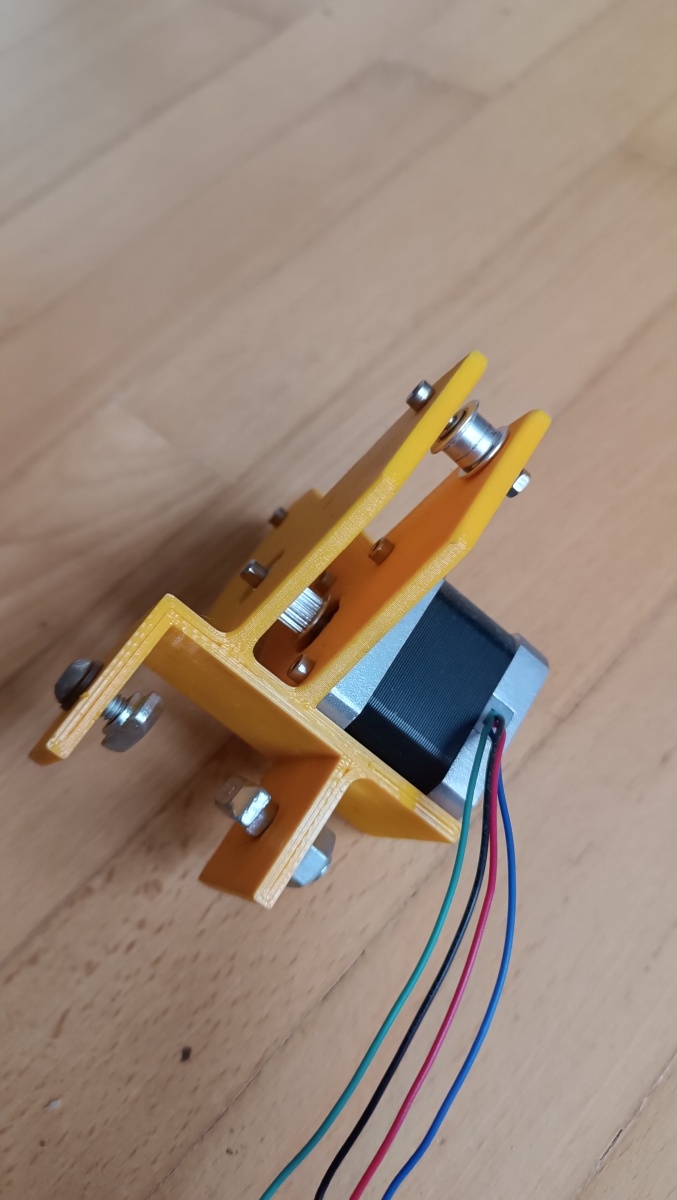
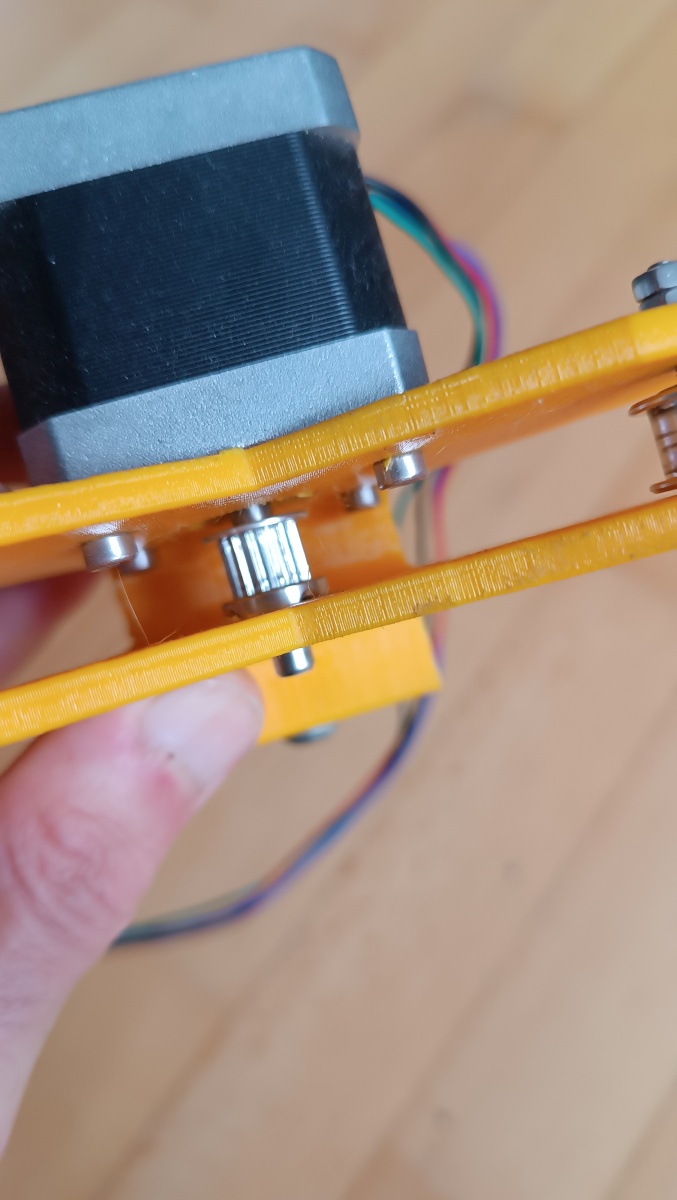
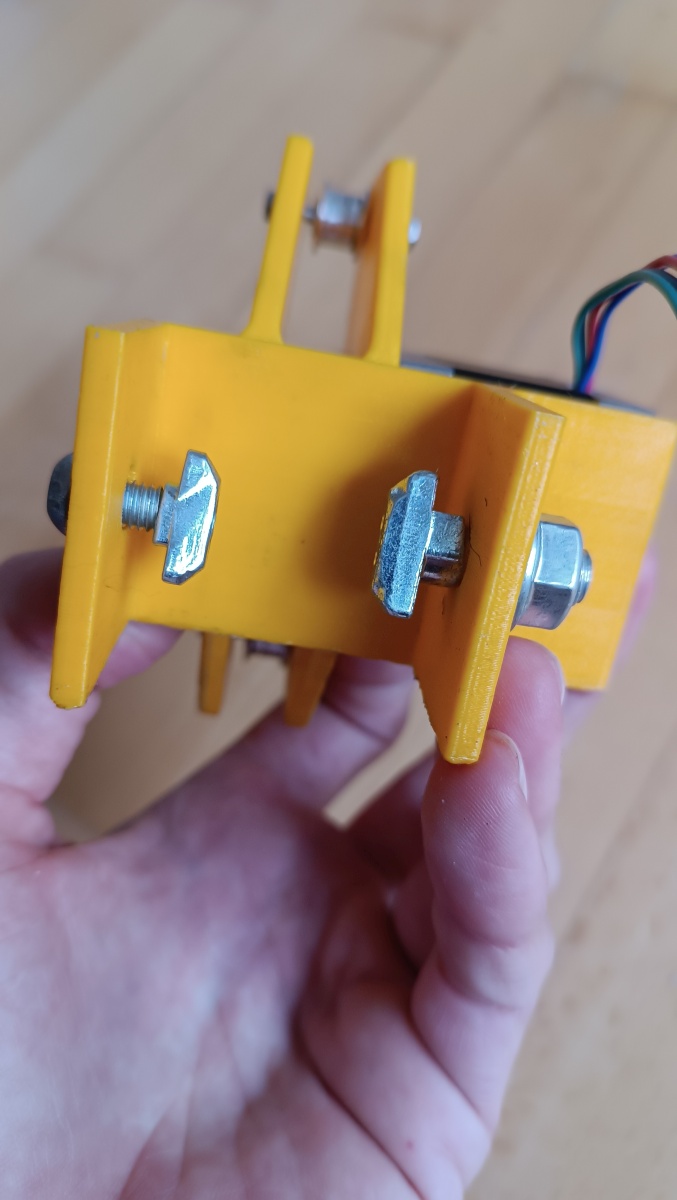
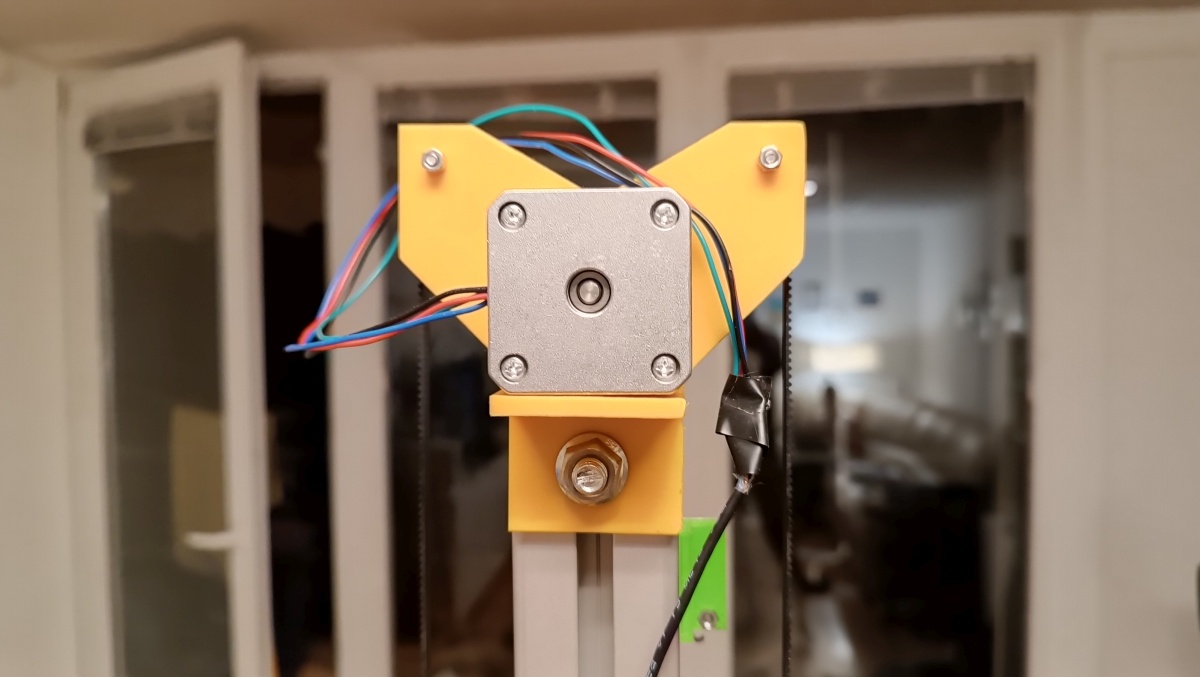
  10. Assemble motor and pully on 3D printed part #2.
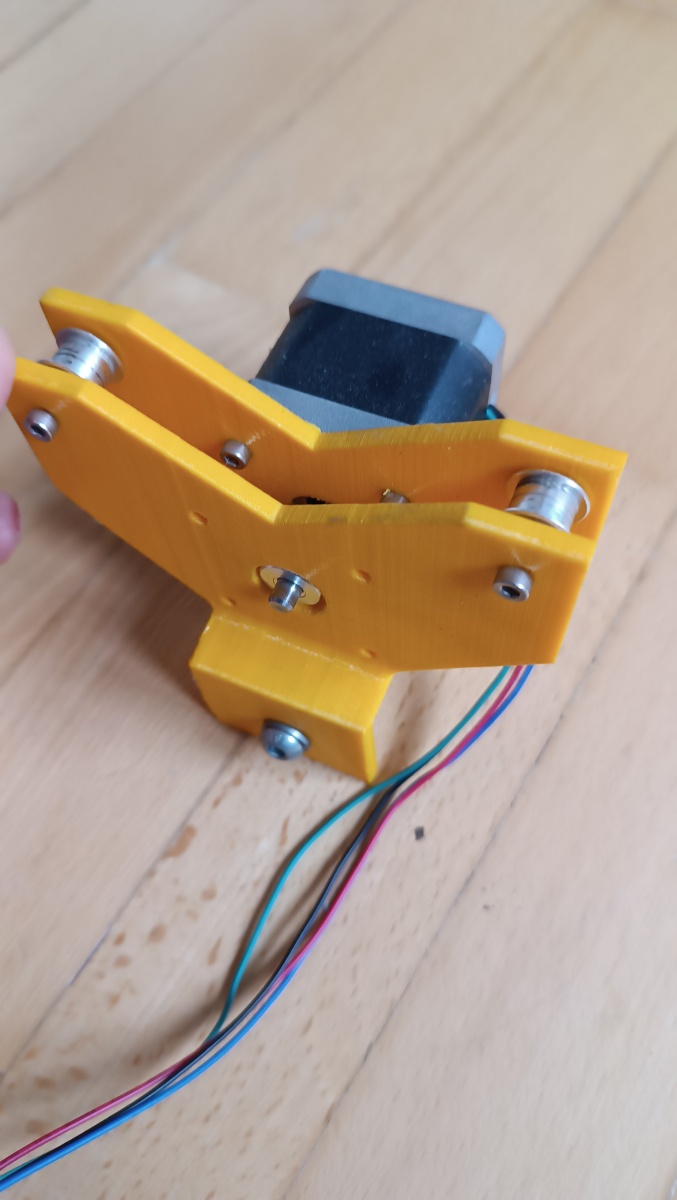
  11. Fix part #2 on the top of the part C using two screws and T-slot nuts.
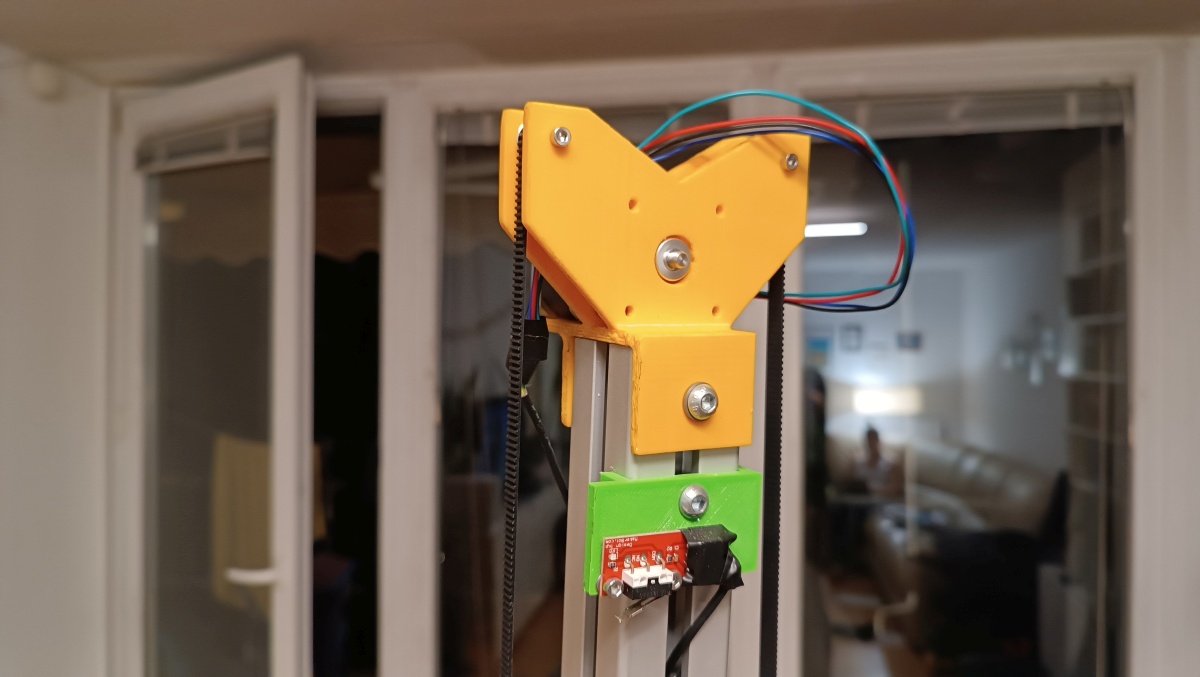
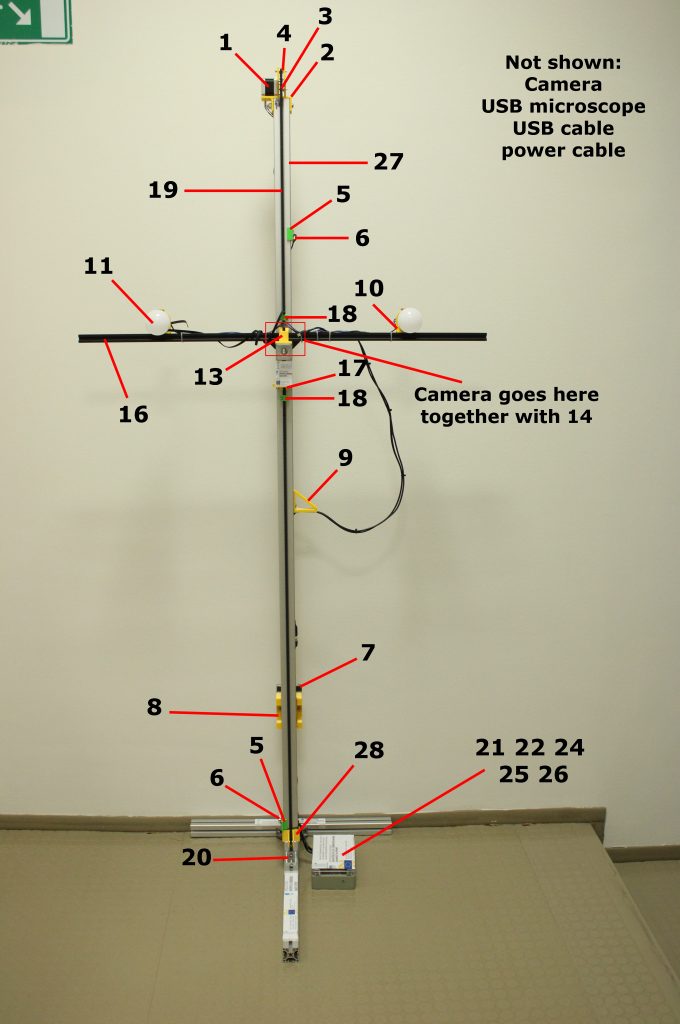
  12. Install the belt (check upper photographs at points [6],[11] and [9]. Tension the belt around BeltLoopTop (part #13) and use 3D printed parts BeltClampFront, BeltClampBack (part #18) to clamp it as shown in the image.
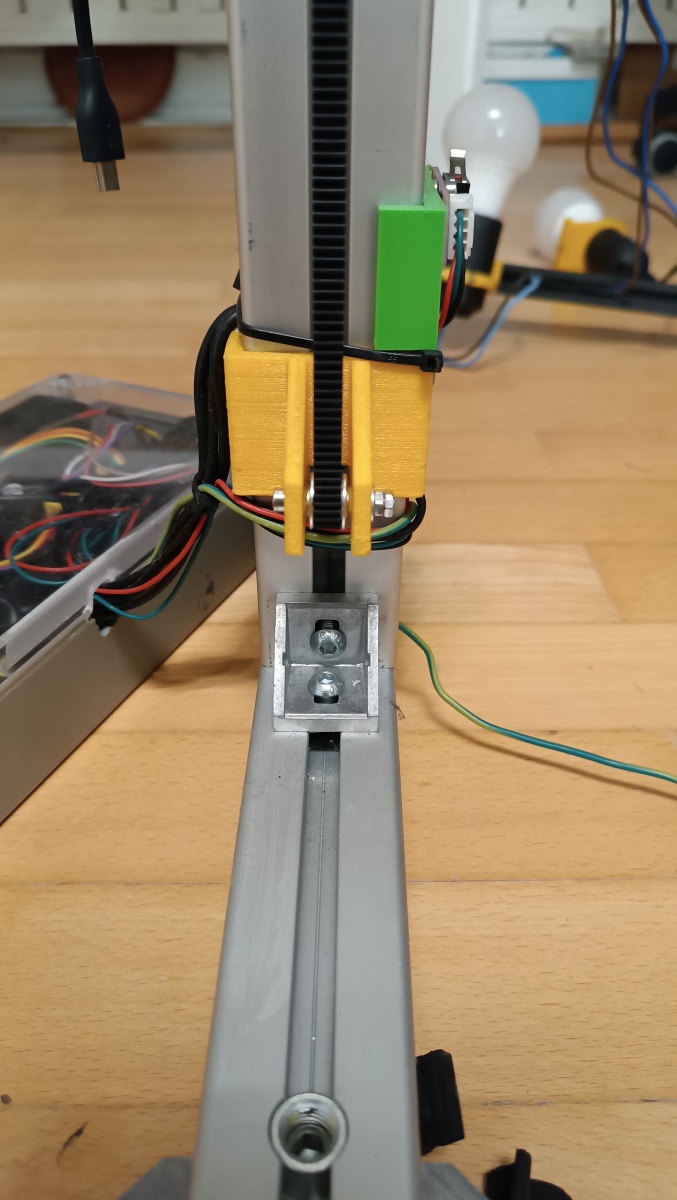
  13. Clamp the counter weight to the belt.
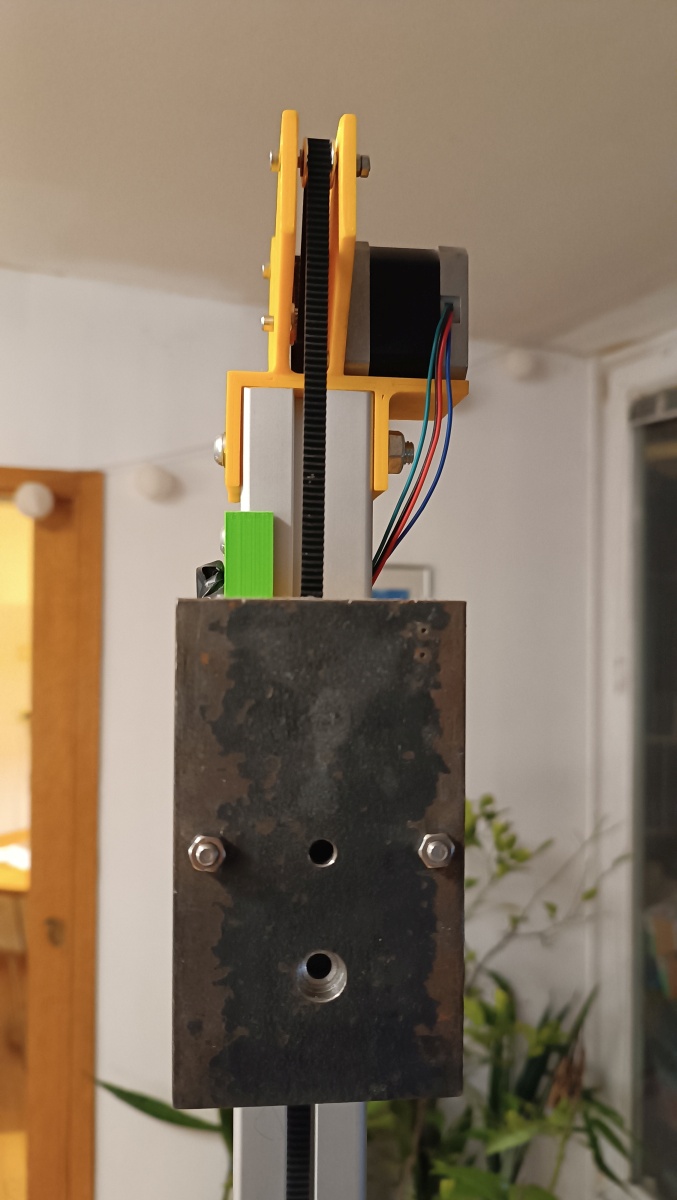
  14. Mount the camera to the BeltLoopTop (part #13).
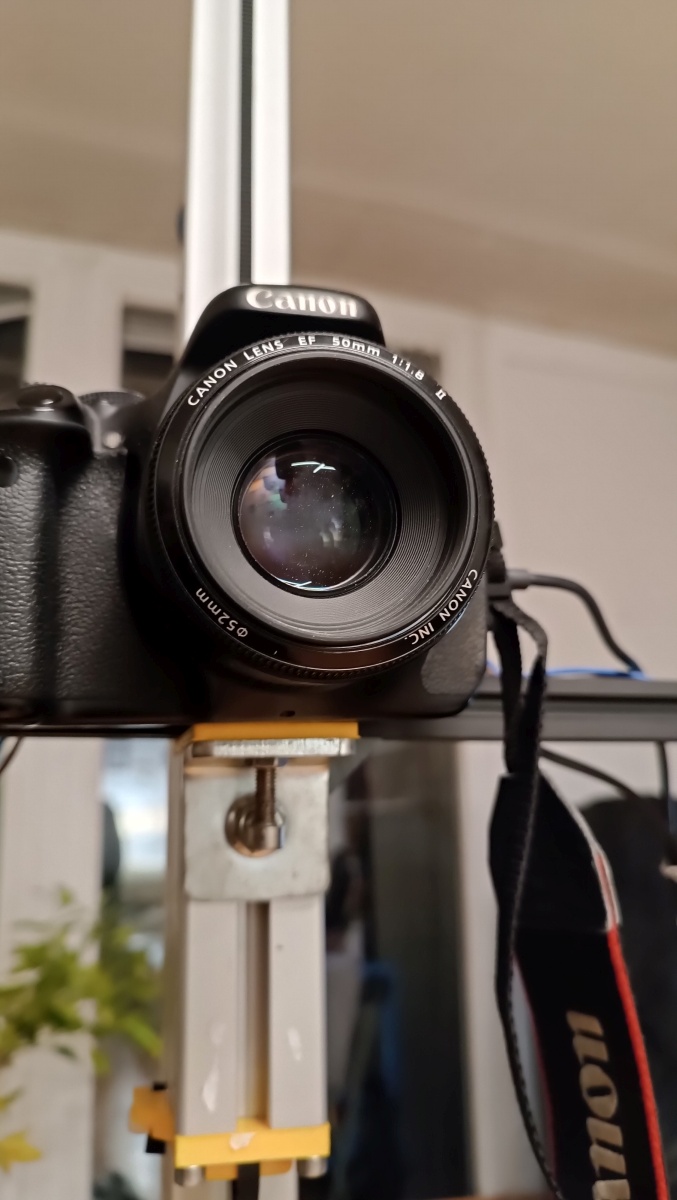
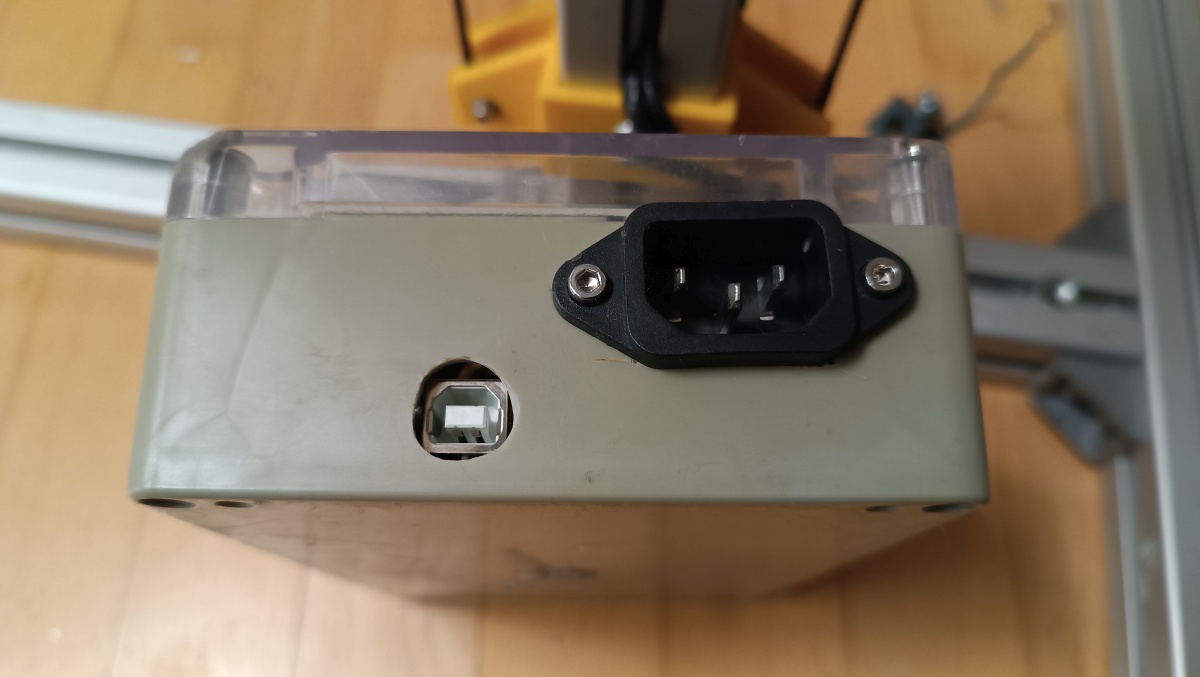
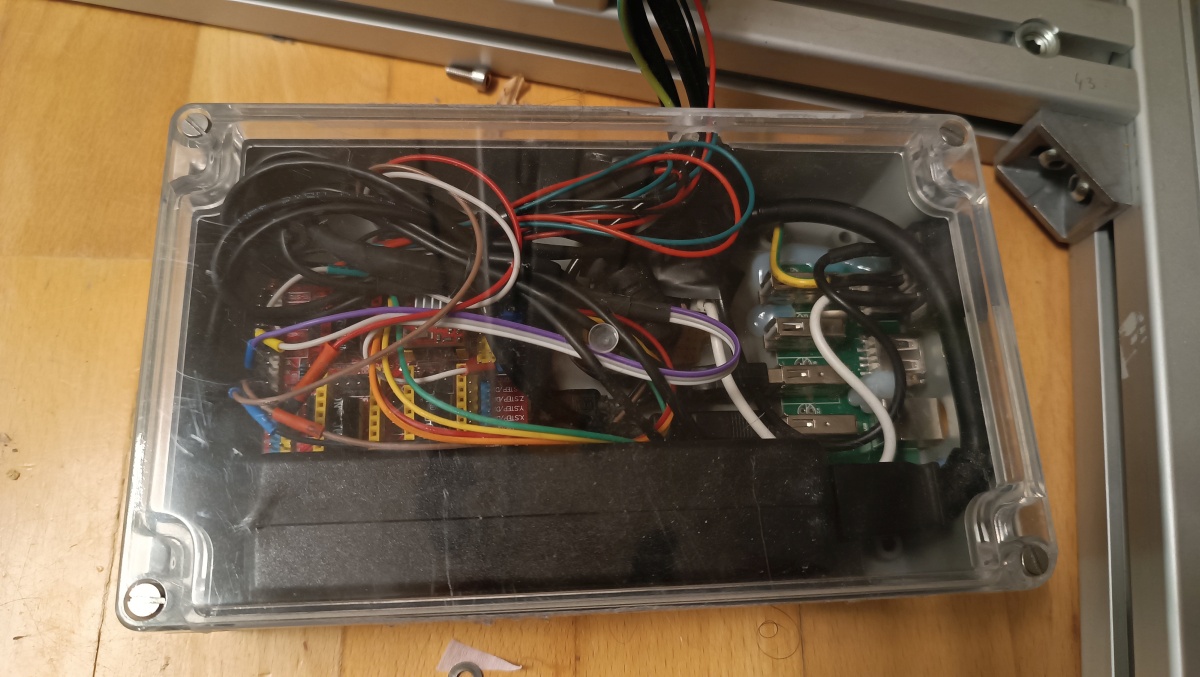
  15. Assemble the electronics box and connect the stepper motor and the camera to it.

The list of components we used is accessible here. We hope it serves as a guide for anyone wishing to construct their own dermoscope stand or simply as a starting point for future projects.

Part NumberPart NamePart LinkQuantity
1Stepping motor NEMA 17https://www.azurefilm.si/koracni-motor-nema-17 ( or https://www.3dsvet.eu/izdelek/koracni-motor-nema17-black-18%cb%87-15a/ )1
2Motor and pulley support – 3D printhttps://drive.google.com/file/d/1dLlfRFMgqGZV7Uwzw2IOaKIUzZ9PfDhy/view?usp=sharing1
3GT2 timing pulleyhttps://www.azurefilm.si/20-or-16-teeth-gt2-timing-pulley1
4Pulley withouth teethhttps://www.azurefilm.si/jermenica-brez-zobov4
5Switch support – 3D printhttps://drive.google.com/file/d/18djFRVnNh-0CfLuc7Axm4CZmG89VcPwh/view?usp=sharing2
6Mechanical circuit switchhttps://www.azurefilm.si/mehansko-koncno-stikalo-na-vezju2
7CounterweightAny object with a mass of around 800g1
8Weight guide – 3D printhttps://drive.google.com/file/d/1aZitS-gybDZOU-muRwGCm41zrAbIF16E/view?usp=sharing1
9Cable guidehttps://drive.google.com/file/d/1ujjf_kJT9k2n5SLOqzgx_lkJWgPBaqyL/view?usp=sharing1
10LED harnes – 3D printhttps://drive.google.com/file/d/1HdFDUl7Jt5Xr1HUXJANVJ6jxf-A30HLe/view?usp=sharing2
11LED lighthttps://www.emos-si.si/led-zarnica-classic-a60-10-5w-e27-ww2
12Canon EOS 2000D + EF-S 18-55mm Lenshttps://www.amazon.com/Canon-2000D-Camera-18-55-3-5-5-6/dp/B07B1B265L/ref=sr_1_3?dchild=1&keywords=canon+eos+2000d&qid=1596207165&s=electronics&sr=1-31
13Top belt harnes – 3D printhttps://drive.google.com/file/d/1LOhy8U2t8UtdwNCjQJk02t-ll91zMtMG/view?usp=sharing1
14Camera screw bracing – 3D printhttps://drive.google.com/file/d/1rMpfa5ISCBzPHsipipRSdPn3uto-ltuU/view?usp=sharing1
15
16Black aluminum profile 20×20 500/1000mmhttps://www.azurefilm.si/profili-20×20-500-/-1000mm1
17Bottom belt harnes – 3D printhttps://drive.google.com/file/d/11_H-T5i_7pQol4srVreWcXE5vg1xrwVo/view?usp=sharing1
18Belt harnes – 3D print front + backhttps://drive.google.com/file/d/1uPNz_UqNCSpO-4L1a6Cu9yxwOcJoYq9i/view?usp=sharing https://drive.google.com/file/d/1a7p80SHxbls17Q0Xe-Dcgiiak-D1QdOo/view?usp=sharing2
19Belt GT2https://www.azurefilm.si/jermen-gt21
20Angle brace 20x20mmhttps://www.azurefilm.si/kotni-konektor-za-20x20mm4
21Arduino UNOhttps://www.amazon.com/Arduino-A000066-ARDUINO-UNO-R3/dp/B008GRTSV61
22CNC Shield for arduinohttps://www.banggood.com/Geekcreit-CNC-Shield-UNO-R3-Board-4xA4988-Driver-Kit-With-Heat-Sink-For-Arduino-Engraver-3D-Printer-p-1082323.html?akmClientCountry=SI&rmmds=cart_middle_products&cur_warehouse=CN1
23USB microscopehttps://www.banggood.com/1600X-Portable-8-LED-Light-Adjustable-Dimmer-Practical-Hand-Held-Microscope-Computers-Real-Time-Video-Inspection-Digital-Microscope-p-1586533.html?akmClientCountry=SI&rmmds=cart_middle_products&ID=514850&cur_warehouse=CN1
24USB hubhttps://www.mimovrste.com/usb-hubi/sandberg-priklopna-postaja-usb-hub-alugear-7-portss1
25Plastic box20 cm x 11.5 cm x 6 cm1
26Laptop power adapter20 V / 4 A1
27Aluminum 1.5x.1.5 inch extrusionhttps://www.amazon.com/80-20-Inc-T-Slotted-Extrusion/dp/B001F0I3FI3.5 meters
28Bottom belt guidehttps://drive.google.com/file/d/1uLM8t1x8mE-MJI6a43nner0tQI8OR3M2/view?usp=sharing1
294040 Aluminum Extrusion Corner Brackethttps://www.amazon.com/4040-Connector-Corner-Reinforcing-20/dp/B0BS6MG9D52